ใช้งาน Terraform Cloud แบบ Steps by Steps
Terraform cloud คือ Software as a Service(SaaS) ที่เราสามารถใช้บริการได้ฟรี เมื่อเราใช้ terraform cloud เราจะสามารภใช้งาน terraform โดยที่ไม่ต้องติดตั้ง terraform cli ลงในเครื่อง

Terraform cloud เหมาะสำหรับผู้ที่เริ่มต้นหัดให้งาน terraform เพราะใช้งานผ่าน GUI ได้ง่ายๆ ไม่ต้องจำ command เหมือนกับ Terraform CLI
สร้าง Terraform Cloud Account
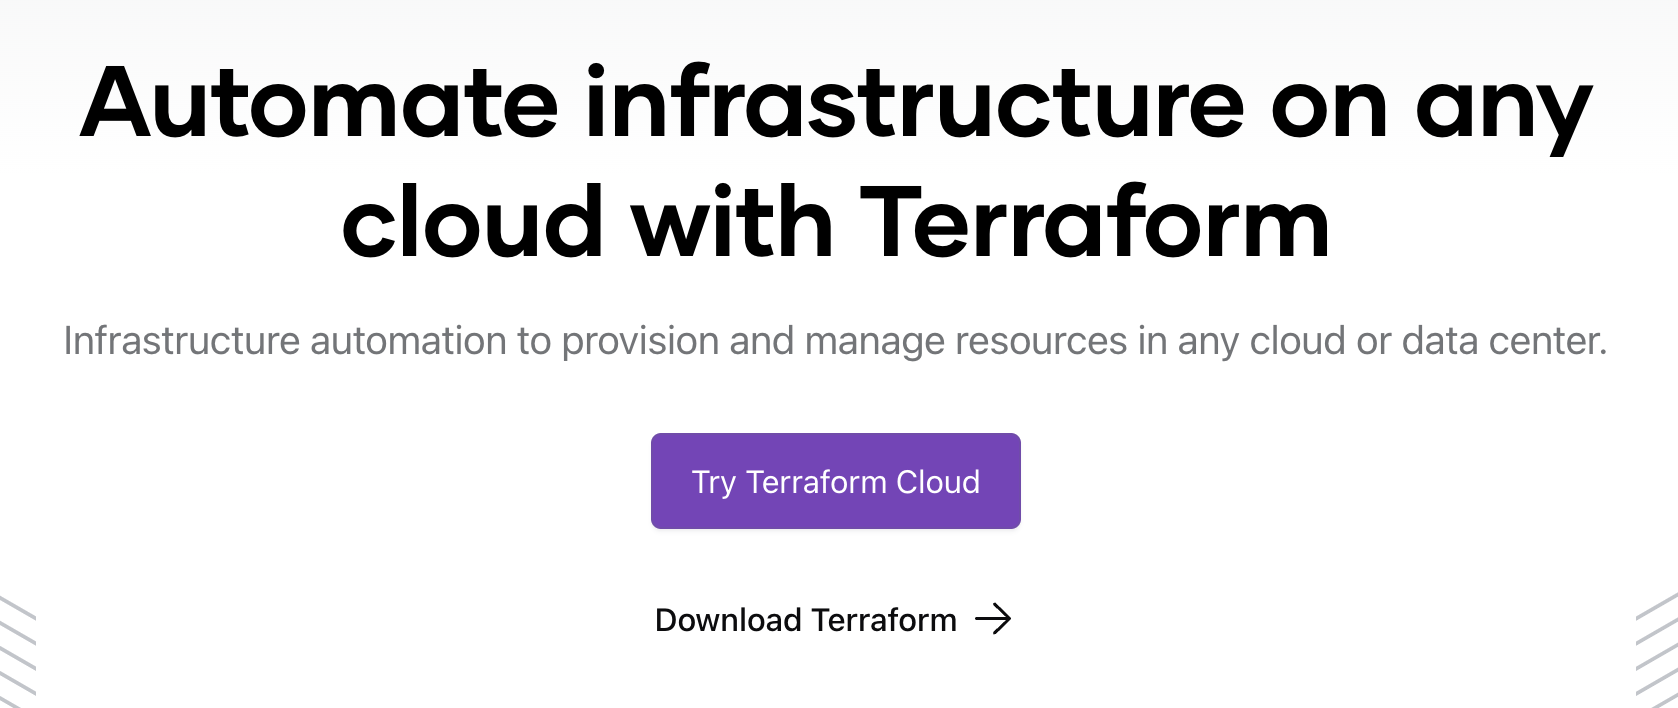
เริ่มจากการสมัครสมาชิกเข้าใช้งาน terraform cloud กันก่อน โดยให้เข้าไปที่ terraform.io
-
เลือก Try Terraform Cloud
-
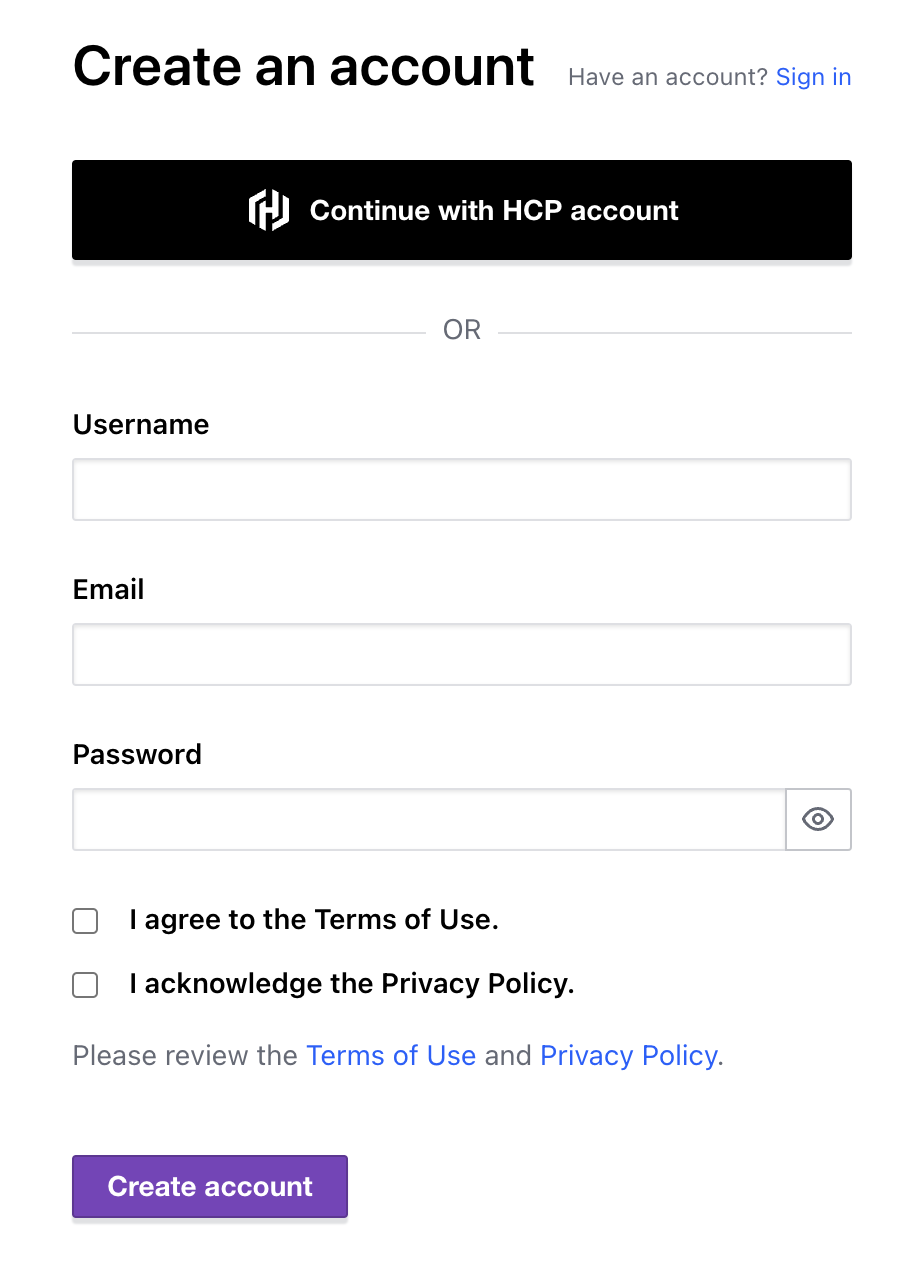
สมัครสมาชิกกันก่อน
-
Activate Account ผ่าน E-mail
-
เลือก workflow โดยมีทางเลือกต่างๆ ดังนี้
- Provision example resources เราจะเลือก run ตัวอย่าง terraform configuration ที่ terraform เตรียมไว้ให้ เหมาะสำหรับผู้ใช้งานที่เพิ่งเริ่มต้นใช้งาน Terraform Cloud
- Migrate local state ย้าย state จาก local ขึ้นมาไว้บน cloud เหมาะสำหรับผู้ที่เคยใช้งาน terraform cli มาก่อน
- Create a new organization เริ่มต้นสร้างทุกอย่างใหม่ตั้งแต่ต้น
-
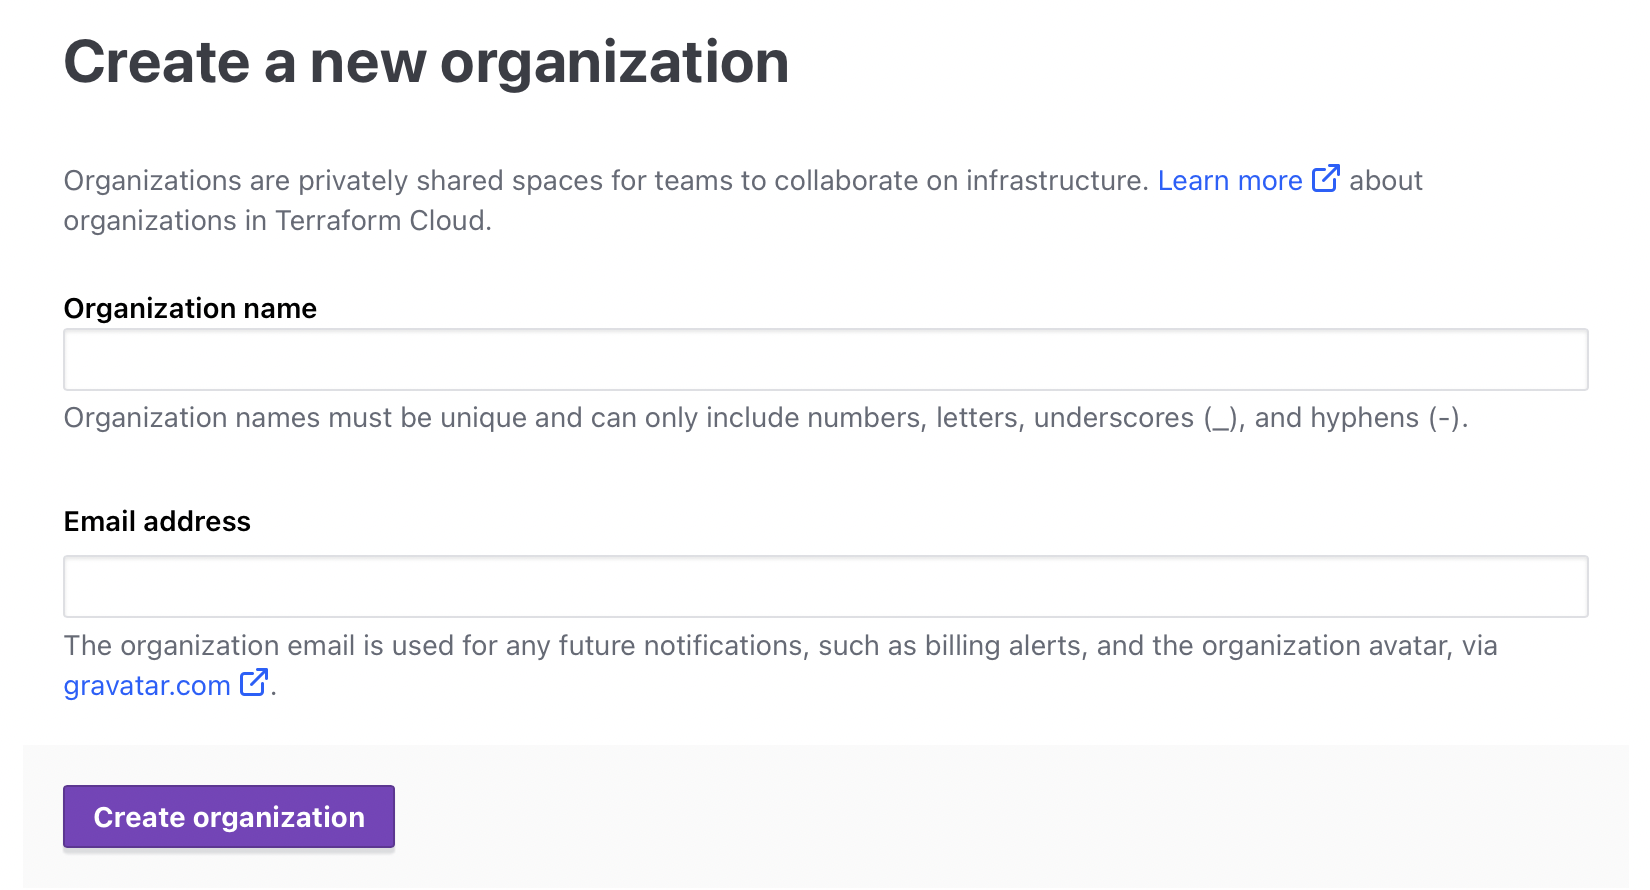
ในตัวอย่างนี้เราจะเลือก Create new organization กรอก e-mail และตั้งชื่อ organization ตามต้องการ
-
เลือกประเภท Workflow ซึ่งมีอยู่ 3 ทางเลือก ดังนี้
- Version Control Workflow เก็บ terraform configuration ไว้บน git repository จะ run terraform ทุกครั้งที่มีการทำ pull requests และการ merges
- CLI-Driven Workflow จะ run ผ่าน terraform cli (ต้องมีการเชื่อม terraform cli กับ terraform cloud เข้าด้วยกันก่อน) อ่านวิธีการเชื่อมต่อได้ที่นี่
- API-Driven Workflow เป็นการเรียกใช้ผ่านทาง API ซึ่งส่วนใหญ่จะอยู่ใน release pipeline
-
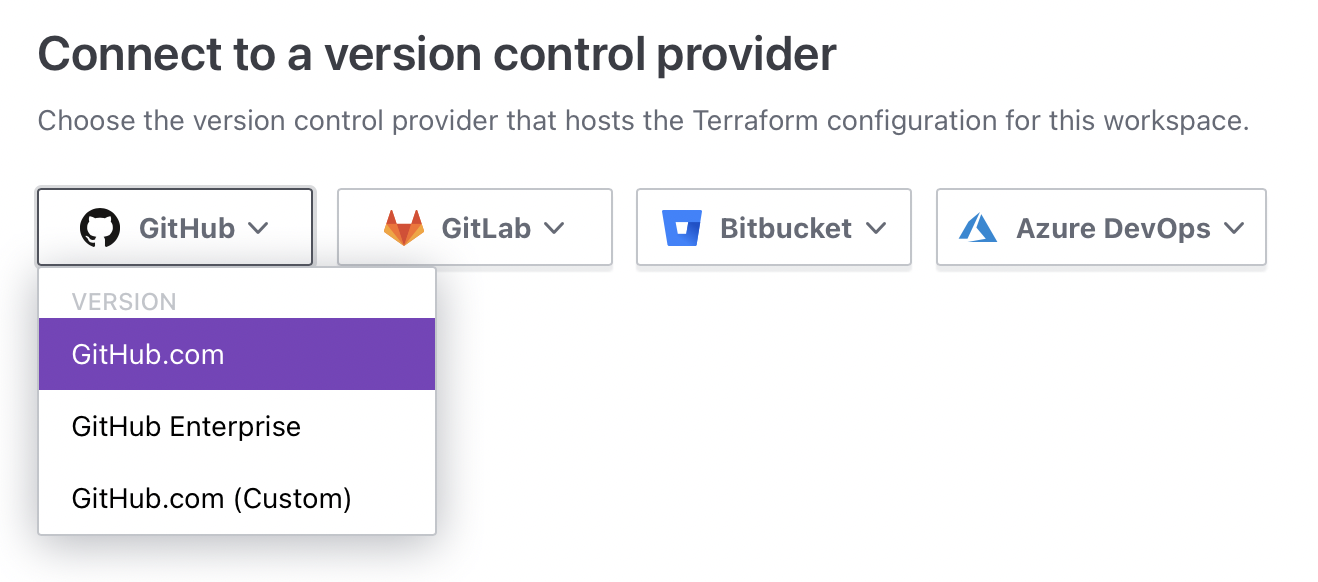
เลือก Version Control Workflow
-
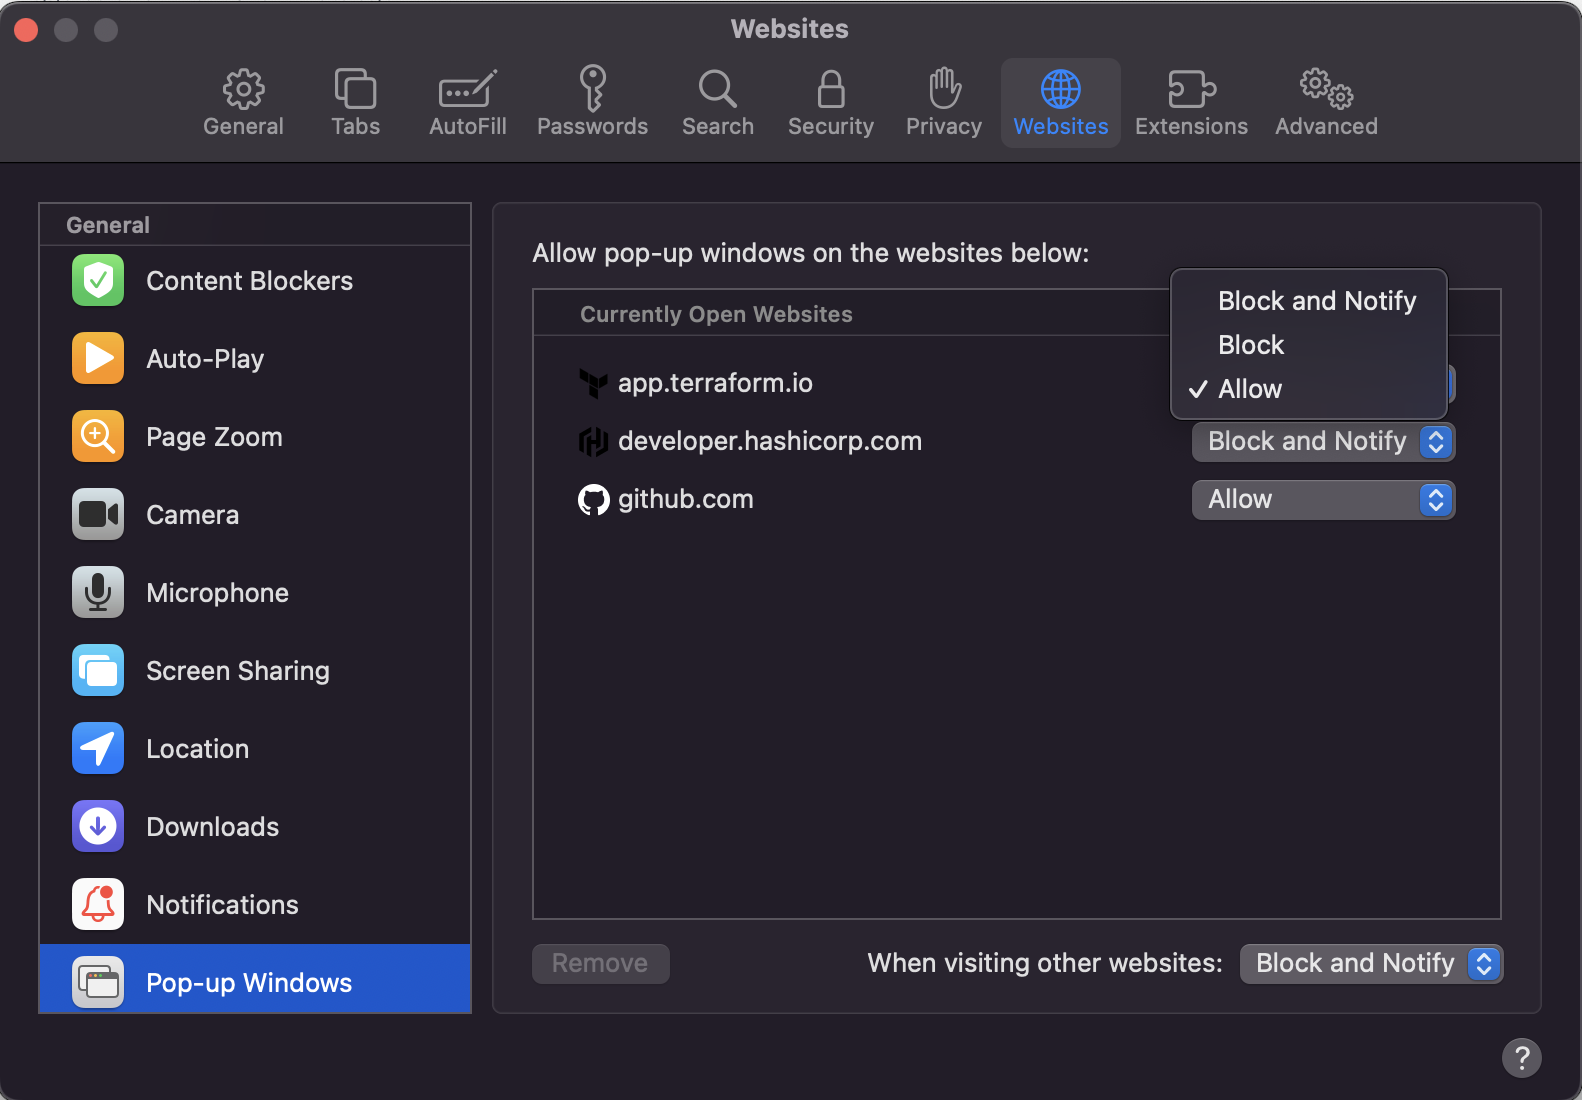
กด Authorize Terraform Cloud ในกรณีที่เกิดปัญหาให้ตรวจสอบว่ามีการ block-popup หรือไม่ ให้ไป allow การเปิด popup เช่น บน Safari ให้เลือก Perference -> Popup Windows -> เลือก Allow เฉพาะ app.terraform.io ตามรูป
ส่วนปัญหาอื่นๆ สามารถเข้าไปดูแนวทางการแก้ไขได้ที่นี่
-
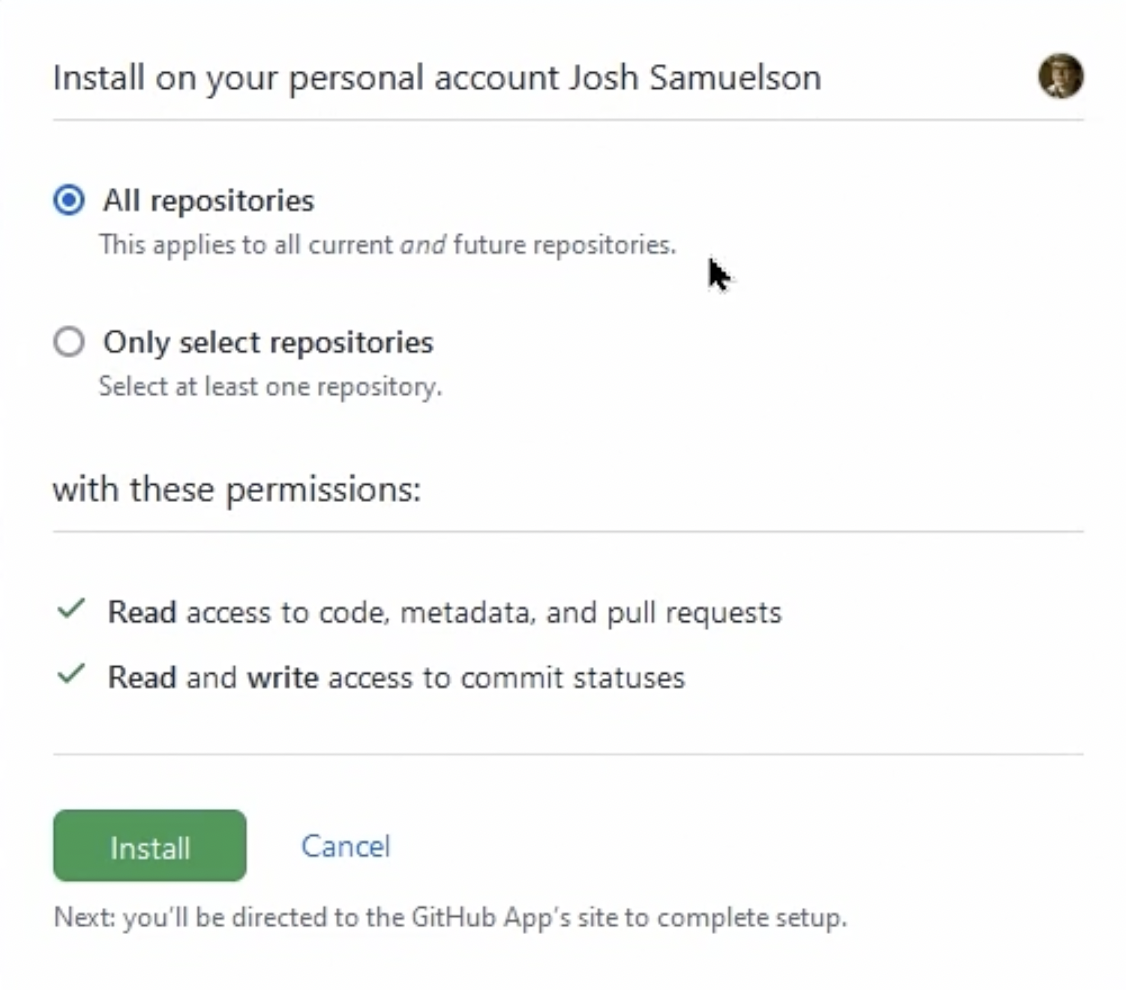
กำหนดสิทธิให้กับ terraform cloud ในการเข้าถึง repository(แนะนำให้กำหนดเฉพาะ repository ที่ต้องใช้ terraform cloud เท่านั้น)
-
เลือก repository ที่ต้องการเชื่อมต่อกับ terraform cloud
-
ตั้งชื่อ workspace โดยที่ workspace นั้นจะต้องระบุ repository และ branch ที่เราต้องการเข้าไปทำงานด้วย
-
เลือก branch ที่ต้องการ trigger terraform cloud (ส่วนใหญ่จะเป็น main branch หรือ master branch)
-
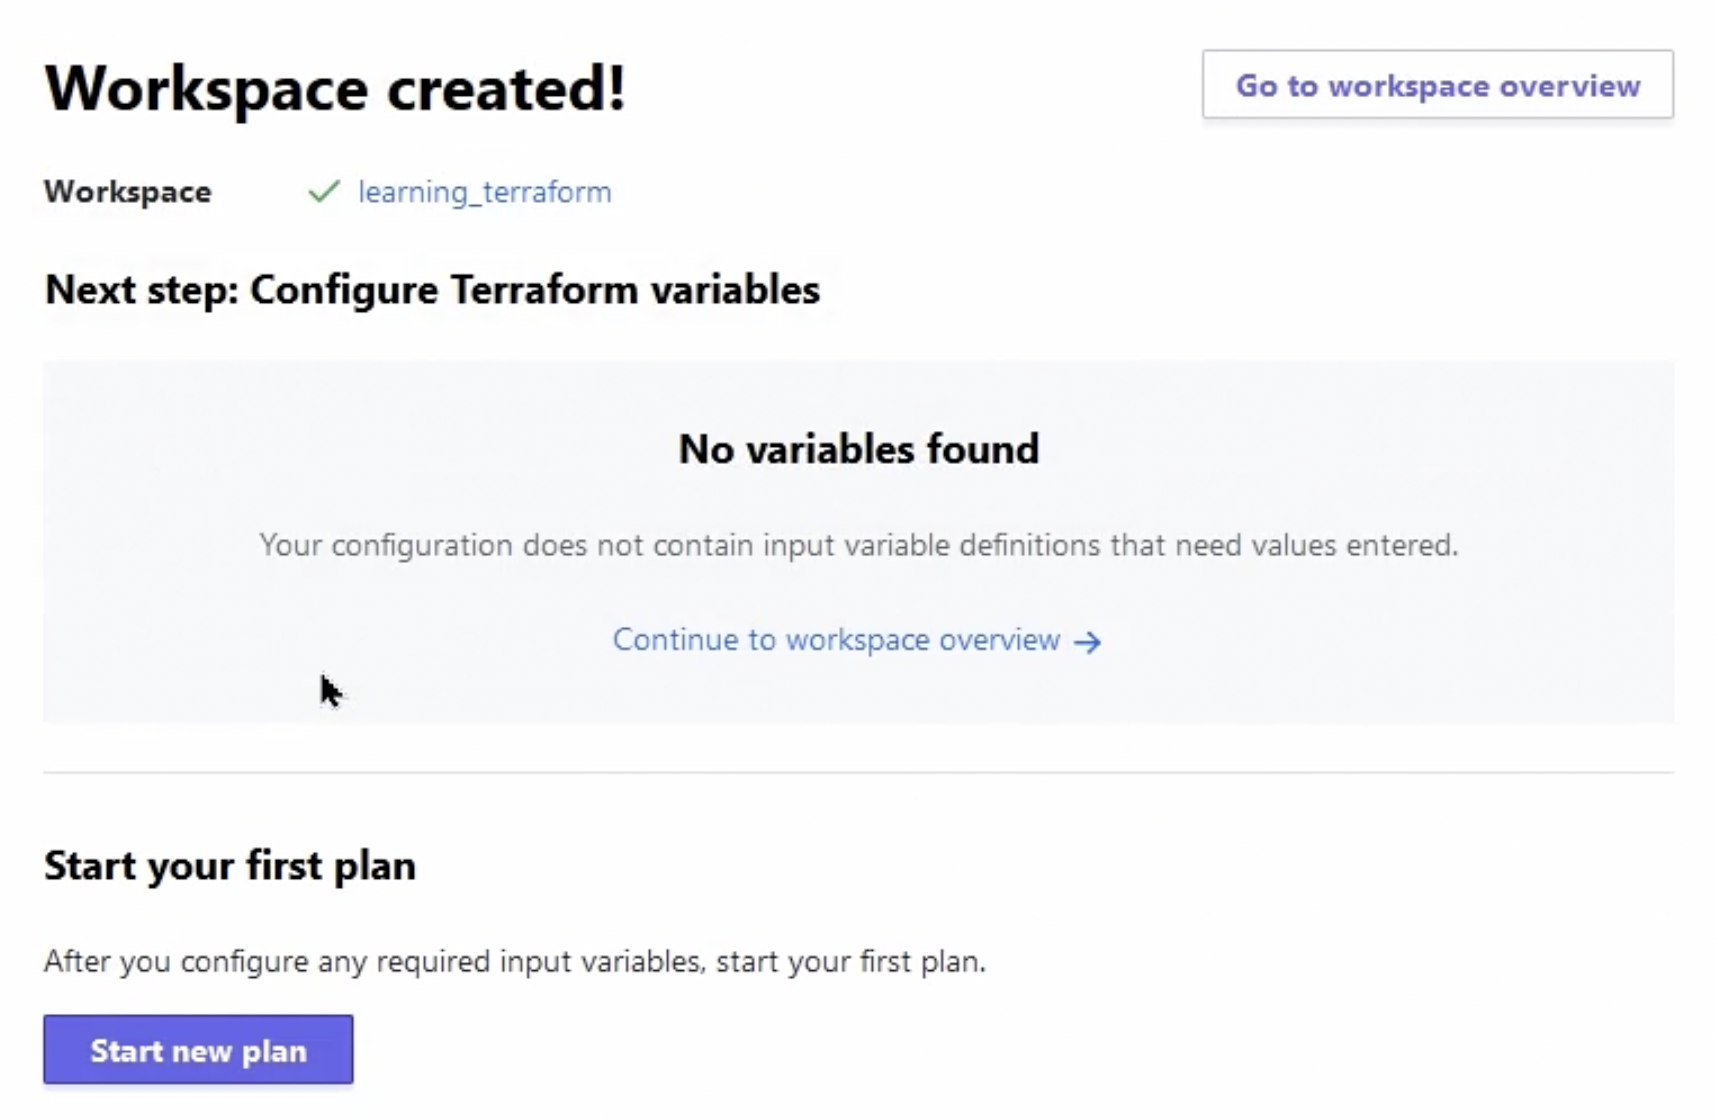
เมื่อสร้าง workspace เสร็จเรียบร้อยแล้ว terraform cloud จะแจ้งเราว่าตอนนี้เรายังไม่ได้สร้างตัวแปรขึ้นมาใช้งานนะ ถ้าเราต้องการตั้งชื่อตัวแปรสามารถกด Continue to workspace overview ได้เลย
-
ในตัวอย่างนี้เราต้องสร้างตัวแปรขึ้นมา 2 ตัว คือ AWS_ACCESS_KEY_ID และ AWS_SECRET_ACCESS_KEY เพื่อที่จะเชื่อมต่อกับ Amazon Web Services(AWS)
-
เลือก Configure variables
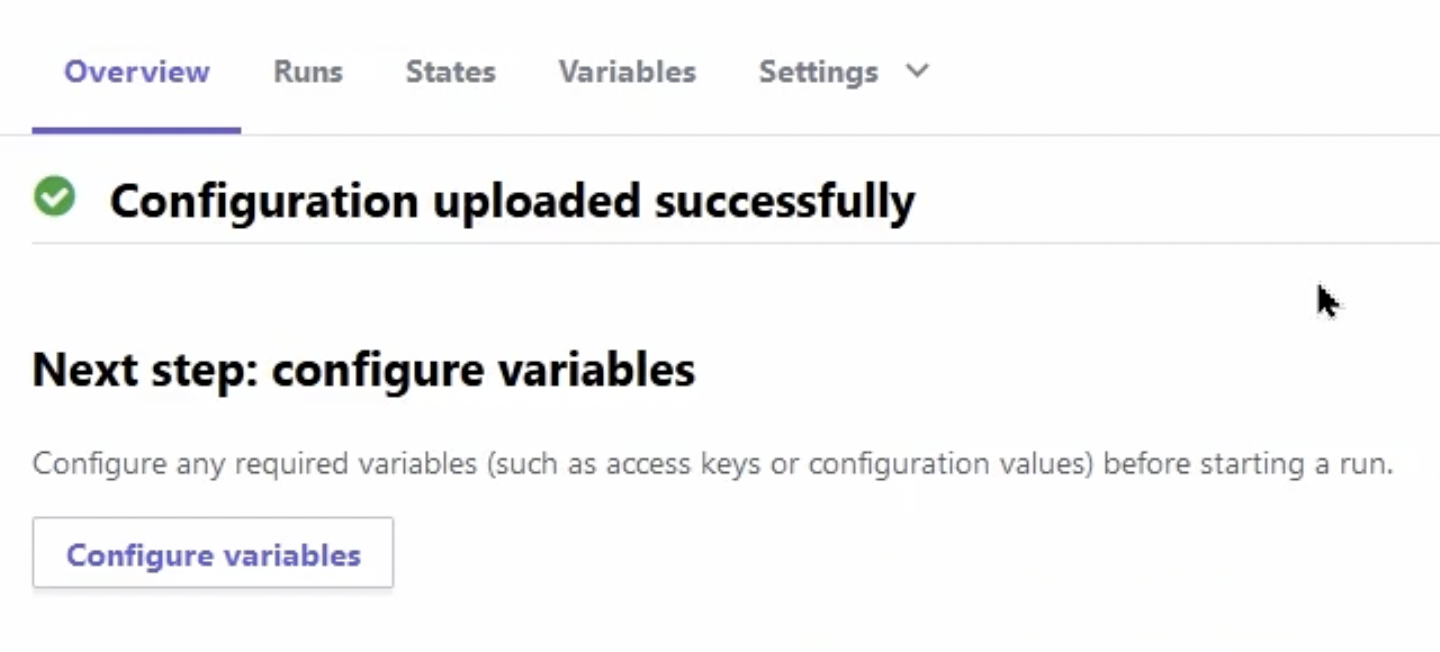
-
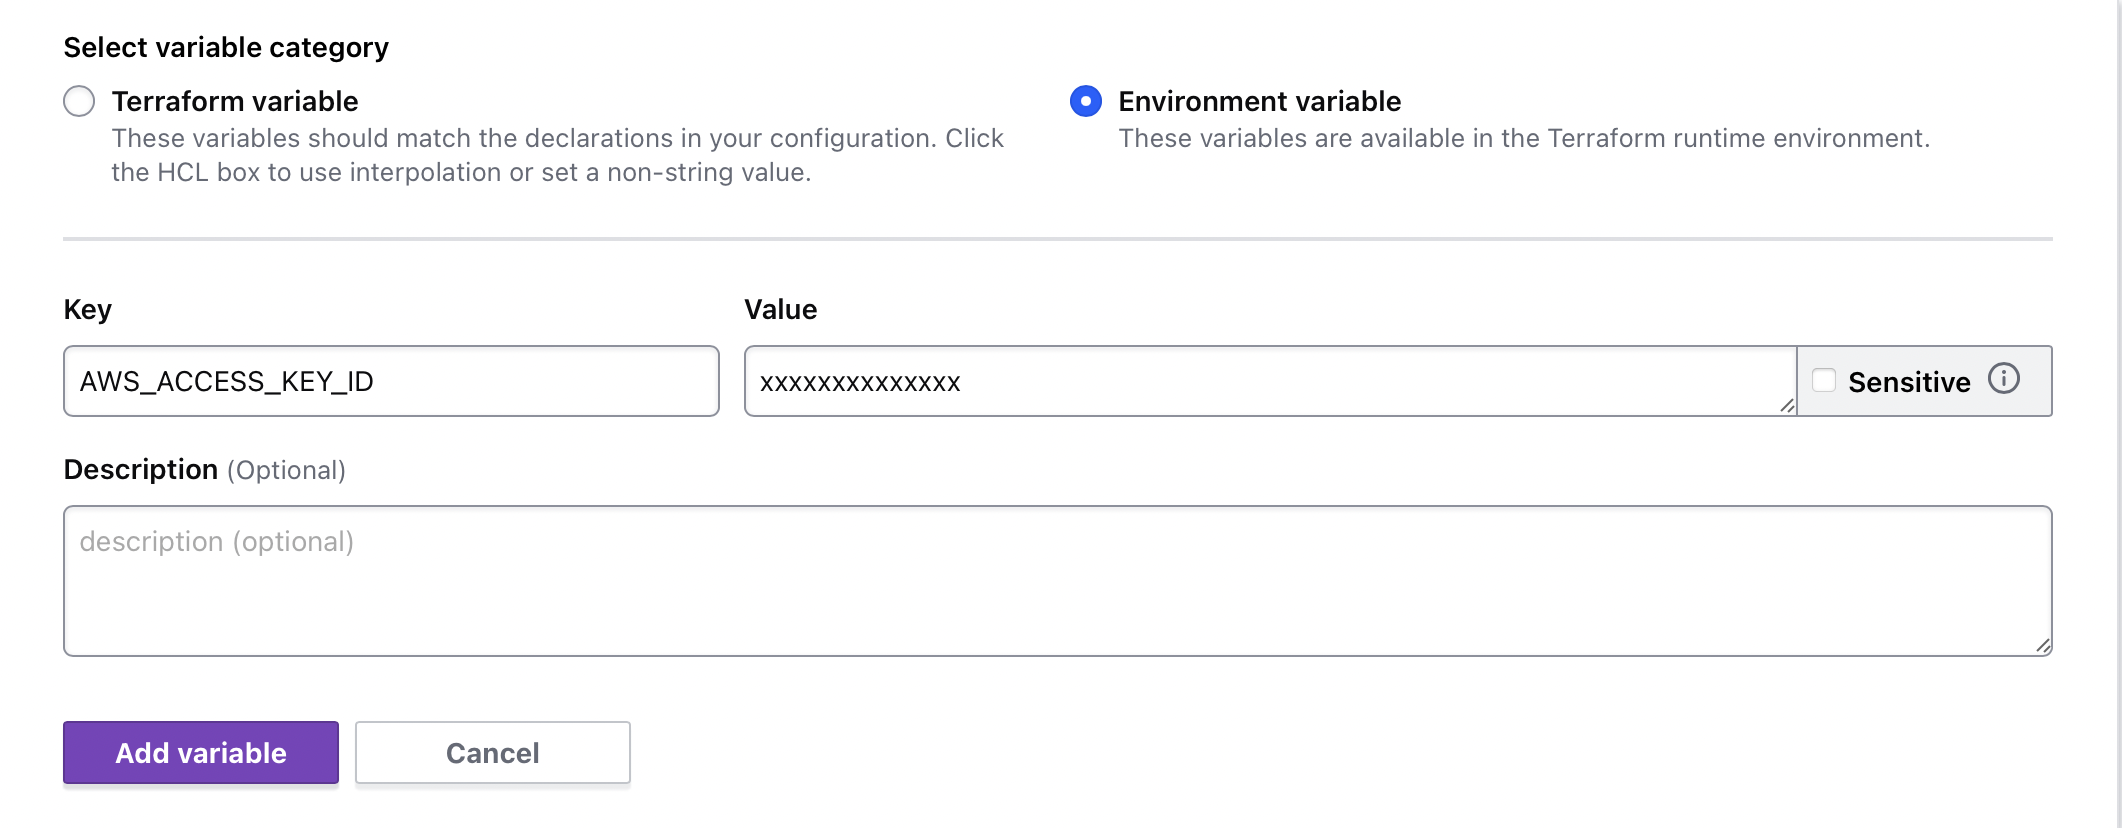
กดปุ่ม Add Variable และในกรณีนี้เราจะเลือก Environment Variables สำหรับจัดเก็บ AWS_SECRET_ACCESS_KEY ซึ่งจะปลอดภัยกว่าการใช้ terraform variable
-
สร้างตัวแปร AWS_ACCESS_KEY_ID และนำ AWS_ACCESS_KEY_ID ที่ได้มาตอน create user ใน AWS Identity and Access Management(IAM) ดูรายละเอียดขั้นตอนการเชื่อมต่อกับ AWS ได้ที่นี่ AWS_ACCESS_KEY_ID ไม่ต้อง click sensitive เพราะเป็นเพียงแค่ ID ของ user ไม่ใช่ความลับ
-
สร้างตัวแปร AWS_SECRET_ACCESS_KEY และอย่าลืม click เลือก sensitive ด้วยเพราะ AWS_SECRET_ACCESS_KEY เป็นข้อมูลที่เป็นความลับ
จะได้ผลลัพธ์ดังรูป

-
กลับไปที่หน้า Workspace แล้วเลือก Start new plan
-
ถ้าใน repository ที่เราเลือกเชื่อมต่อกับ workspace นี้มี terraform configuration อยู่ก็จะมีการ trigger ให้ terraform configuration นั้นขึ้นมาทำงาน แต่ถ้ายังไม่มีก็จะเกิด Error message แบบนี้
Error: No Terraform configuration files found in working directoryให้เพิ่ม terraform configuration นี้เข้าไปใน repository ก่อน โดยในตัวอย่างนี้ผมจะตั้งชื่อว่า main.tf
provider aws { region = "ap-southeast-1" } resource "aws_instance" "web" { ami = "ami-0464f90f5928bccb8" instance_type = "t3.micro" tags = { Name = "HelloWorld" } } -
หลังจากที่ push code ขึ้นไปบน repository terraform จะ trigger ให้เกิดการ run terraform plan โดยอัตโนมัติ
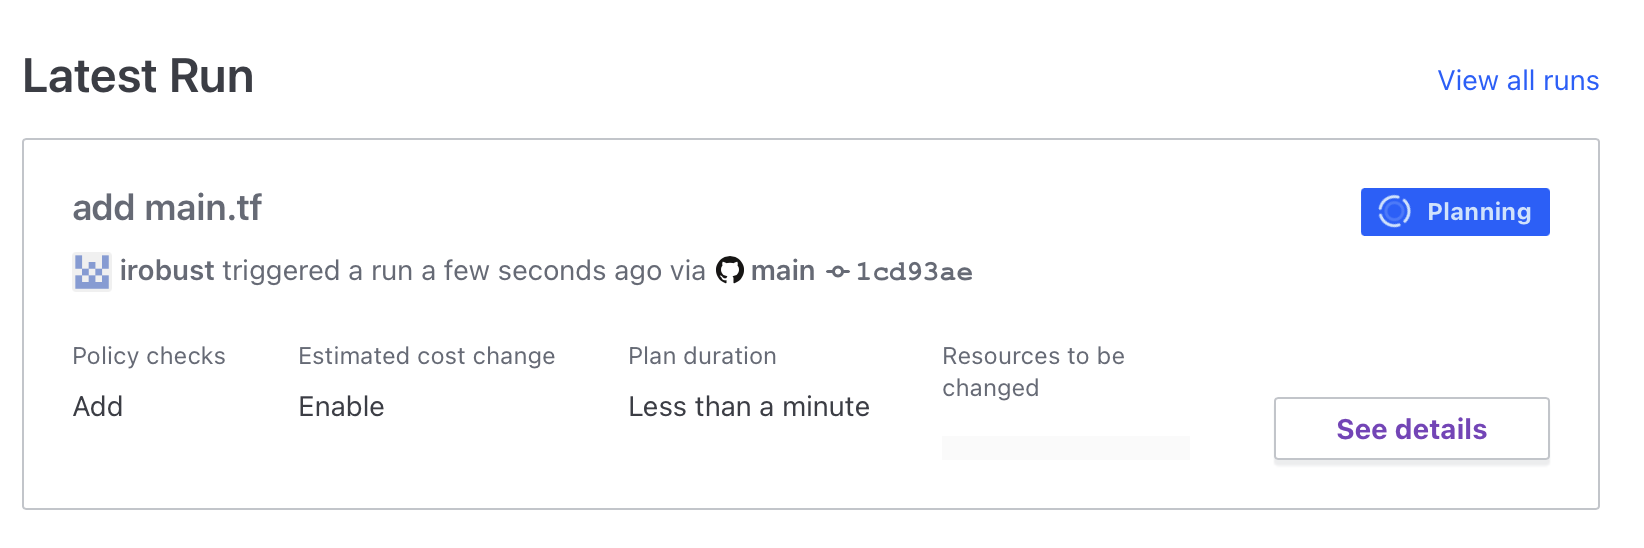
เมื่อ terraform configuration ไม่มี error state ของ runs จะกลายเป็น Planned ซึ่งหมายถึง terraform plan ทำงานเสร็จแล้ว

-
สุดท้ายเราแค่เข้าไปกด Confirm Plan เพื่อยืนยันการสร้าง resources บน cloud เป็นอันเสร็จเรียบร้อย

ซึ่งในระหว่างนี้เราสามารถ cancel การ apply ได้ตลอดเวลา สุดท้ายเมื่อ apply เสร็จเรียบร้อย ลองเข้าไปดูผลลัพธ์ใน AWS console จะเห็นว่ามี EC2 Instance ที่สร้างขึ้นมาใหม่ ดังรูป

การ run terraform plan บน Terraform cloud จะต้อง run ทีละตัวไม่สามารถ run พร้อมกันได้
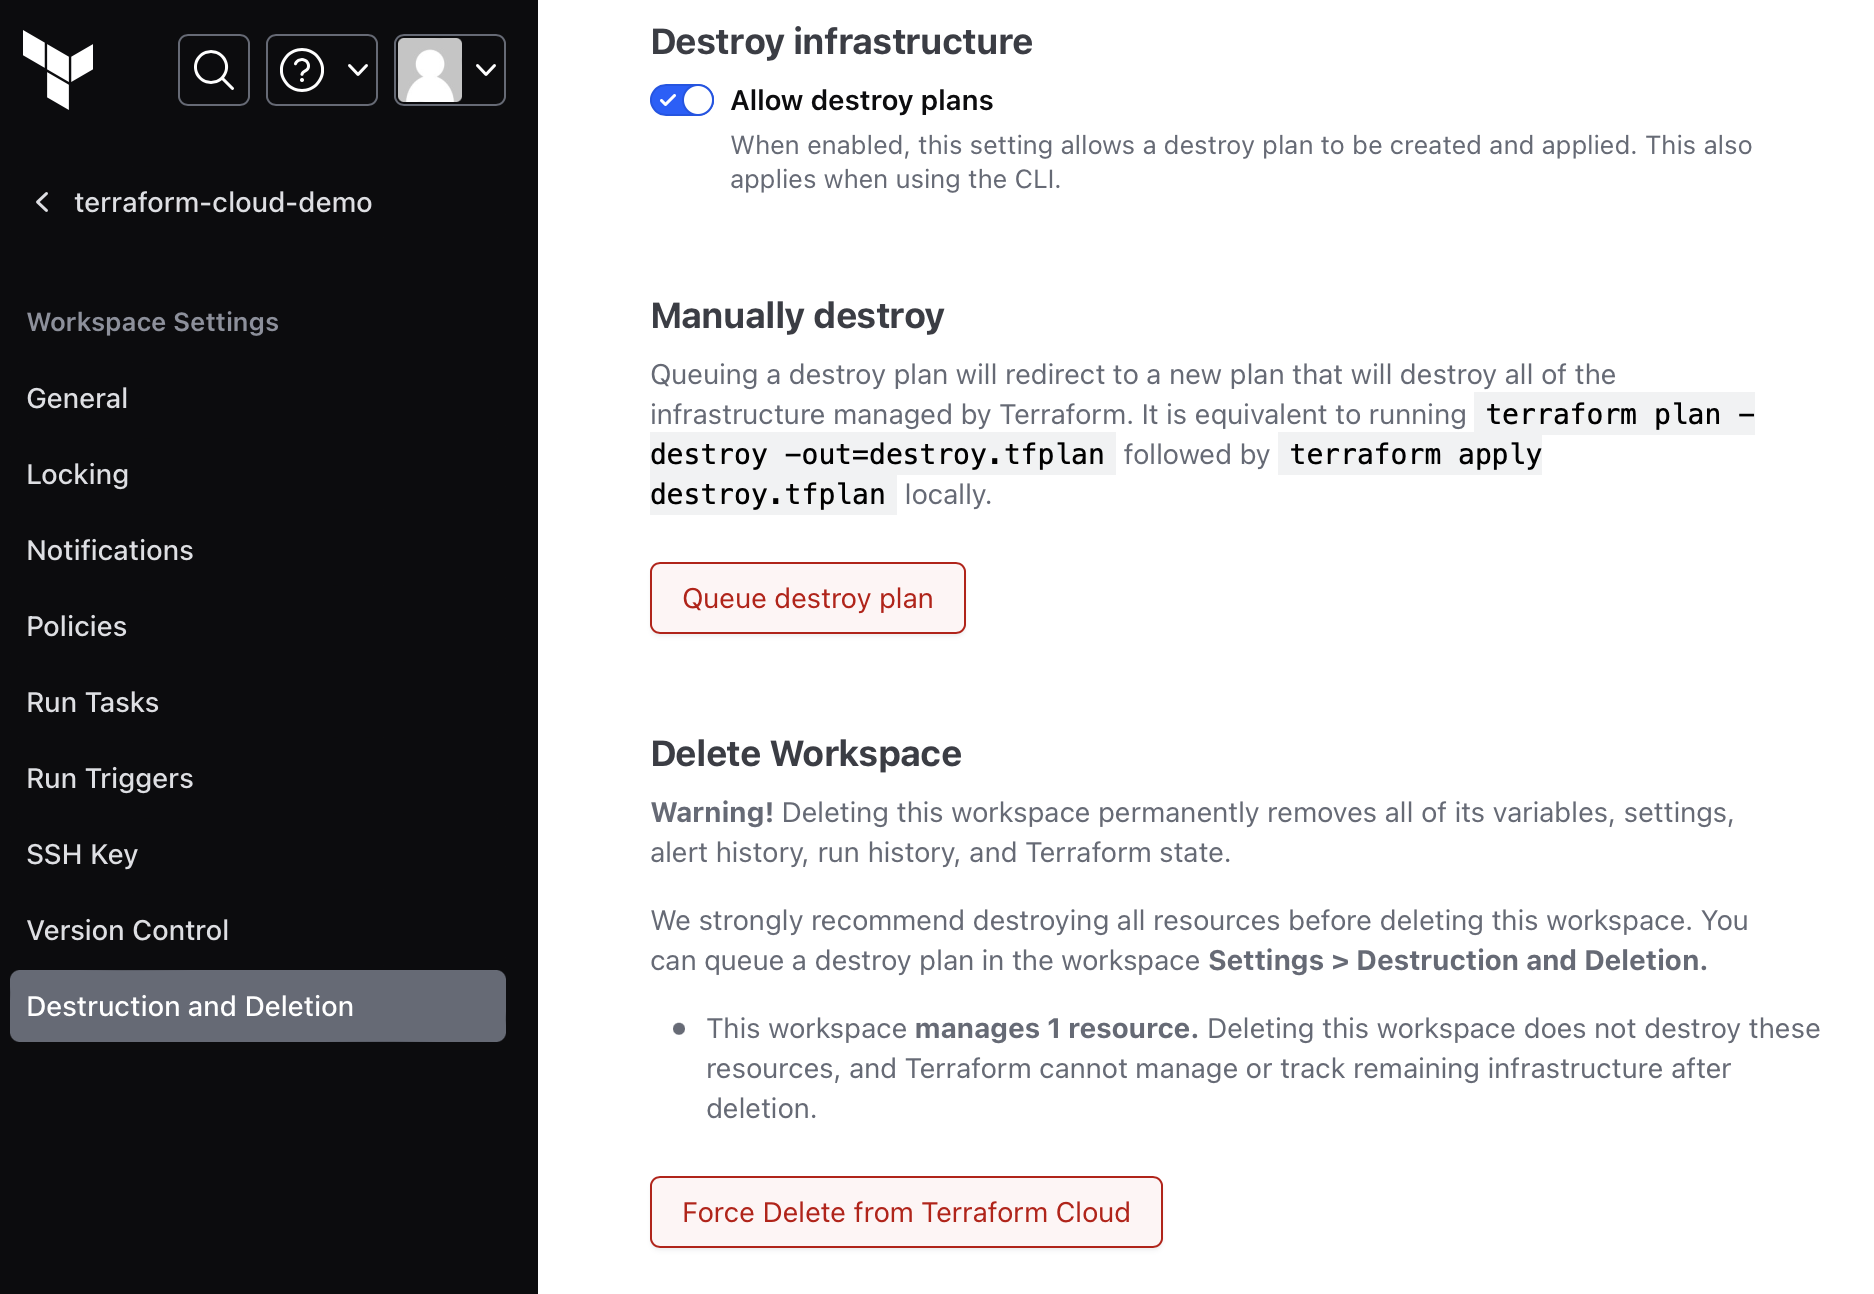
ถ้าต้องการลบ Resources ที่ได้สร้างขึ้นจาก Terraform ให้ทำตามนี้
ในกรณีที่เราต้องการ destroy plan หรือ delete workspace ให้เข้าไปใน Workspace ที่เราต้องการแล้วเลือก Settings -> Destruction and Deletion หลังจากนั้นกดปุ่ม Queue destroy plan หรือ Force delete from Terraform Cloud
Terraform Cloud vs Terraform CLI
ความแตกต่างของ Terraform Cloud กับ Terraform CLI คือ การจัดการ state Terraform จะเก็บ state ไว้บน cloud เรียกว่าเป็น remote state แต่ Terraform CLI จะจัดเก็บ state ไว้ใน folder ที่เรา run terraform เรียกว่า local state
Login Terraform Cloud ผ่าน Terraform CLI
เราสามารถใช้ terraform cli login เข้าไปยัง terraform cloud เพื่อใช้งานผ่าน command line ได้ โดยที่จะต้องทำตามขั้นตอนต่างๆ ดังนี้
- Login ผ่าน Terraform CLI ด้วยคำสั่ง
terraform login - Terraform จะถามว่าให้ generate token แล้วเก็บไว้ในไฟล์ /.terraform.d/credentials.tfrc.json นี้เลยมั้ย
Terraform will request an API token for app.terraform.io using your browser. If login is successful, Terraform will store the token in plain text in the following file for use by subsequent commands: [Your user path]/.terraform.d/credentials.tfrc.json Do you want to proceed? Only 'yes' will be accepted to confirm. Enter a value: - ให้ตอบ yes จะไปต่อในขั้นตอนถัดไป
- หลังจากนั้นจะ popup browser ขึ่้นมาให้ตั้งชื่อ API Token โดย default จะตั้งเป็น “terraform login”
- Click Create API token
- นำ Token นั้นกลับไปใส่ใน command line
Token for app.terraform.io: Enter a value: - หลังจากนั้นจะขึ้นข้อความว่า เชื่อมต่อกับ terraform cloud เรียบร้อย
Retrieved token for user redacted

Welcome to Terraform Cloud!
