เขียน Automated Testing ด้วย Cypress
Cypress คือ Automated Testing Framework for Javascript เราสามารถเขียน Test Script เพื่อทดสอบระบบของเราด้วย JavaScript
Cypress จะใช้ JavaScript ควบในการควบคุมการทำงาน Cypress สามารถทำได้ทั้ง Component Test, API Testing และ End-To-End Testing
Cypress Features
Features หลักๆของ Cypress มีดังนี้
- Time travel and Debugging สามารถเข้าไปย้อนดูเหตุการณ์ต่างๆ และ debug หาข้อผิดพลาดได้ง่าย
- Automatic Waiting เราจะไม่ต้องถูกบังคับให้ใส่ Wait, Wait until อีกต่อไปทำให้ Test script ของเรา clean ขึ้นอย่างเห็นได้ชัด
- Fast and Reliable การใช้ JavaScript แทนการใช้ Selenium Webdriver จะทำให้การควบคุม browser นั้นเร็วและมีข้อผิดพลาดน้อยกว่า
- Screenshots and Videos เราสามารถบอกให้ Cypress บันทึกหน้าจอเป็นรูปภาพหรือ Videos เพื่อให้เราเข้าไปแก้ไขปัญหา หรือส่งให้ Developer ทำความเข้าใจง่ายขึ้น
- Stubs and Spies เราสามารถจำลอง Object และ method ขึ้นมาโดยที่ไม่ต้องมี Code ที่ execute จริงๆ สามารถนำไปใช้ทำ Unit Test และ Integration Test ได้
- Network Traffic Control เราสามารถจำลอง Response จาก Server ได้ ืทำให้ไม่จำเป็นต้องเชื่อมต่อกับ Server จริงๆ
ข้อจำกัดของ Cypress
ข้อดีของ Cypress คือ เราไม่ต้องมี Web driver เหมือนกับ Selenium และ Playwright ทำให้เราเริ่มต้นทำงานได้ง่าย แต่ก็มีข้อเสียคือ
-
ทำงานได้แค่บน Web เท่านั้น ไม่สามารถไปยัง Mobile หรือ Database ได้
-
จำกัดอยู่แค่ใน Tab เดียวกันเท่านั้น ไม่สามารถเปิด Tab ใหม่ได้
-
ไม่สามารถแยกหลายๆ Session ได้
-
มี Same Origin Policy กำกับการทำงานในแต่ละ Test case พูดง่ายๆก็คือ URL ที่เราจะส่ง request เข้าไปทดสอบได้ต้องมี protocols, host และ port เดียวกันเท่านั้น
it('navigates to cypress', ()=>{
    cy.visit('https://example.cypress.io');
});
it('navigates to playwright', ()=>{
    cy.visit('https://demo.playwright.dev/todomvc');
});
แต่ถ้าเราพยายามจะเข้าไปทั้ง example.cypress.io และ demo.playwright.dev จะเกิด Error
it('navigates to all domains', ()=>{
    cy.visit('https://example.cypress.io');
    cy.visit('https://demo.playwright.dev/todomvc');
});
Cypress vs Selenium
ข้อแตกต่างระหว่าง Cypress และ Selenium มีดังนี้
- Selenium Support หลายภาษา ในขณะที่ Cypress รองรับแค่ JavaScript
- Selenium จะทำได้แค่ E2E Testing แต่ Cypress สามารถทำได้ทั้ง E2E Test, Component Test รวมทั้ง API Testing
- Selenium ใช้ Webdriver ในการควบคุม Browser แต่ Cypress จะใช้ JavaScript ควบคุมการทำงานของ UI
- Cypress จะไม่รองรับ Multi-tabs และ Multi-windows
ติดตั้ง Cypress
เราสามารถเริ่มต้นใช้งาน Cypress ได้ง่ายๆ เพียงแค่สร้าง folder ขึ้นมาแล้วพิมพิ์คำสั่ง
$ npm init
เพื่อสร้างไฟล์ package.json หลังจากนั้นก็ติดต้ัง cypress เข้ามาด้วยคำสั่ง
$ npm install cypress --save-dev
สิ่งที่เราจะได้หลังจาก install cypress จะมี Folders ขึ้นมา 5 Folders ดังนี้
├── cypress-demo
│   ├── fixtures
│   ├── integrations
│   ├── plugins
│   ├── support
│   ├── screenshots
โดยที่ในแต่ละ Folders จะมีไว้สำหรับเก็บสิ่งเหล่านี้
- fixtures เอาไว้เก็บ Test data ที่เราจะนำไปใช้ใน Test script
- integrations เอาไว้เก็บ Test script ที่ลงท้ายด้วย .spec.ts
- plugins เอาไว้เก็บ plugins ต่างๆที่ได้ install เพิ่มเข้ามา
- support เอาไว้เก็บ Command ที่ถูกเรียกใช้ใน Test script
หลังจากนั้นเราสามารถ run cypress ด้วยคำสั่ง
$ npx cypress open
จากนั้นเราจะเข้าสู่หน้าจอแรกของ Cypress
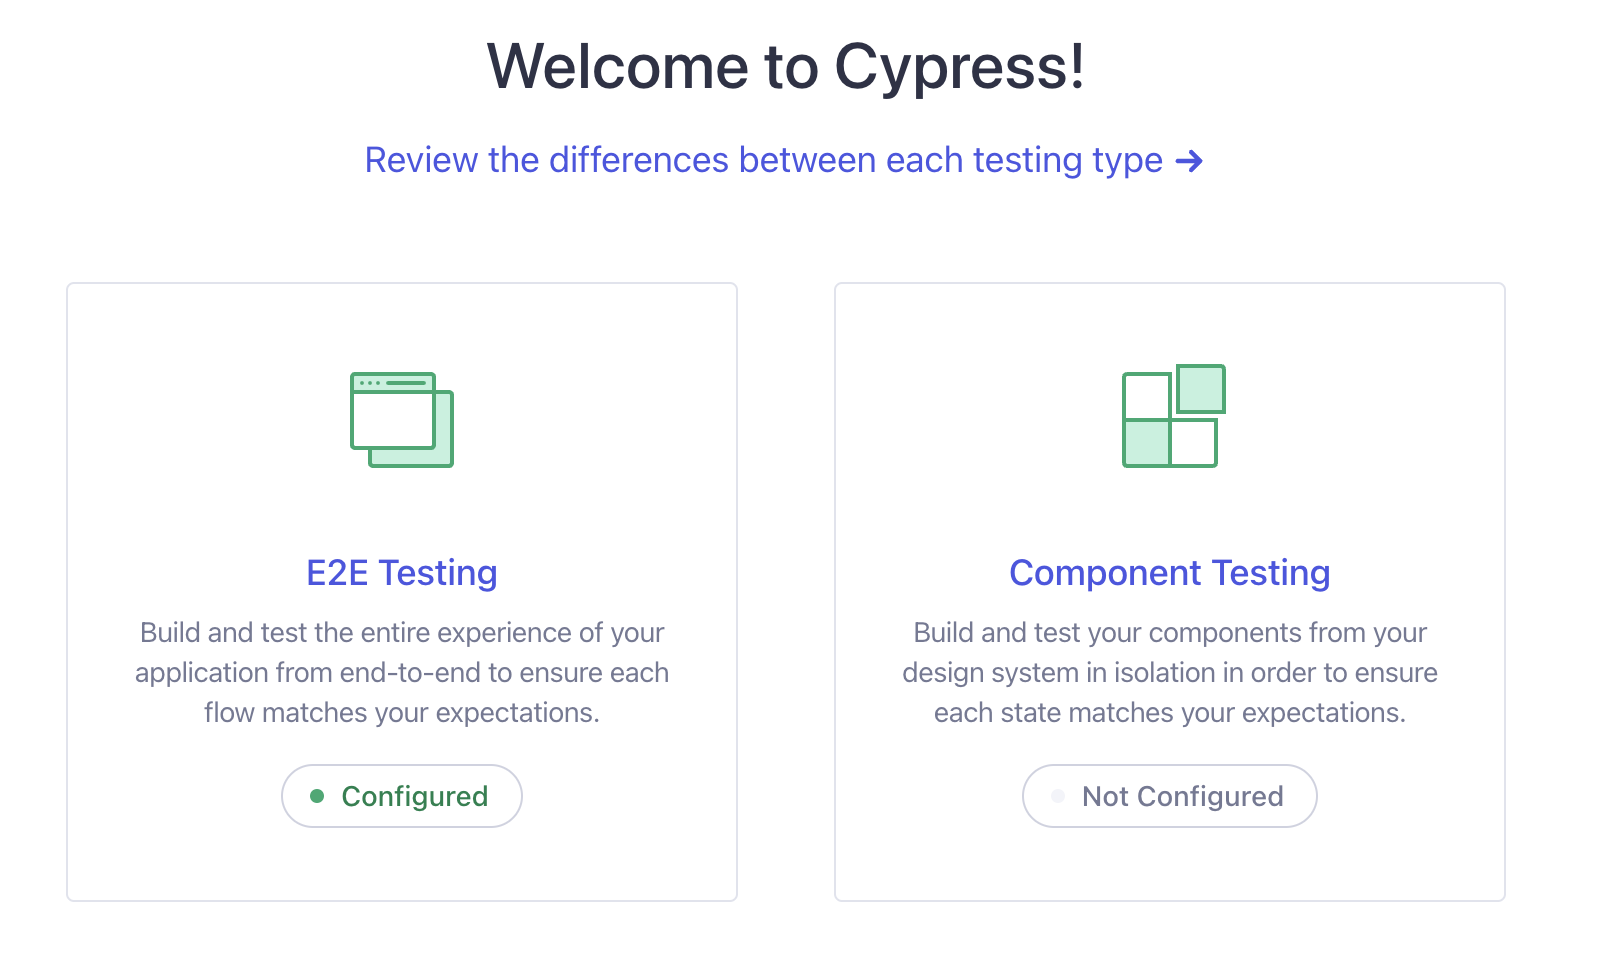
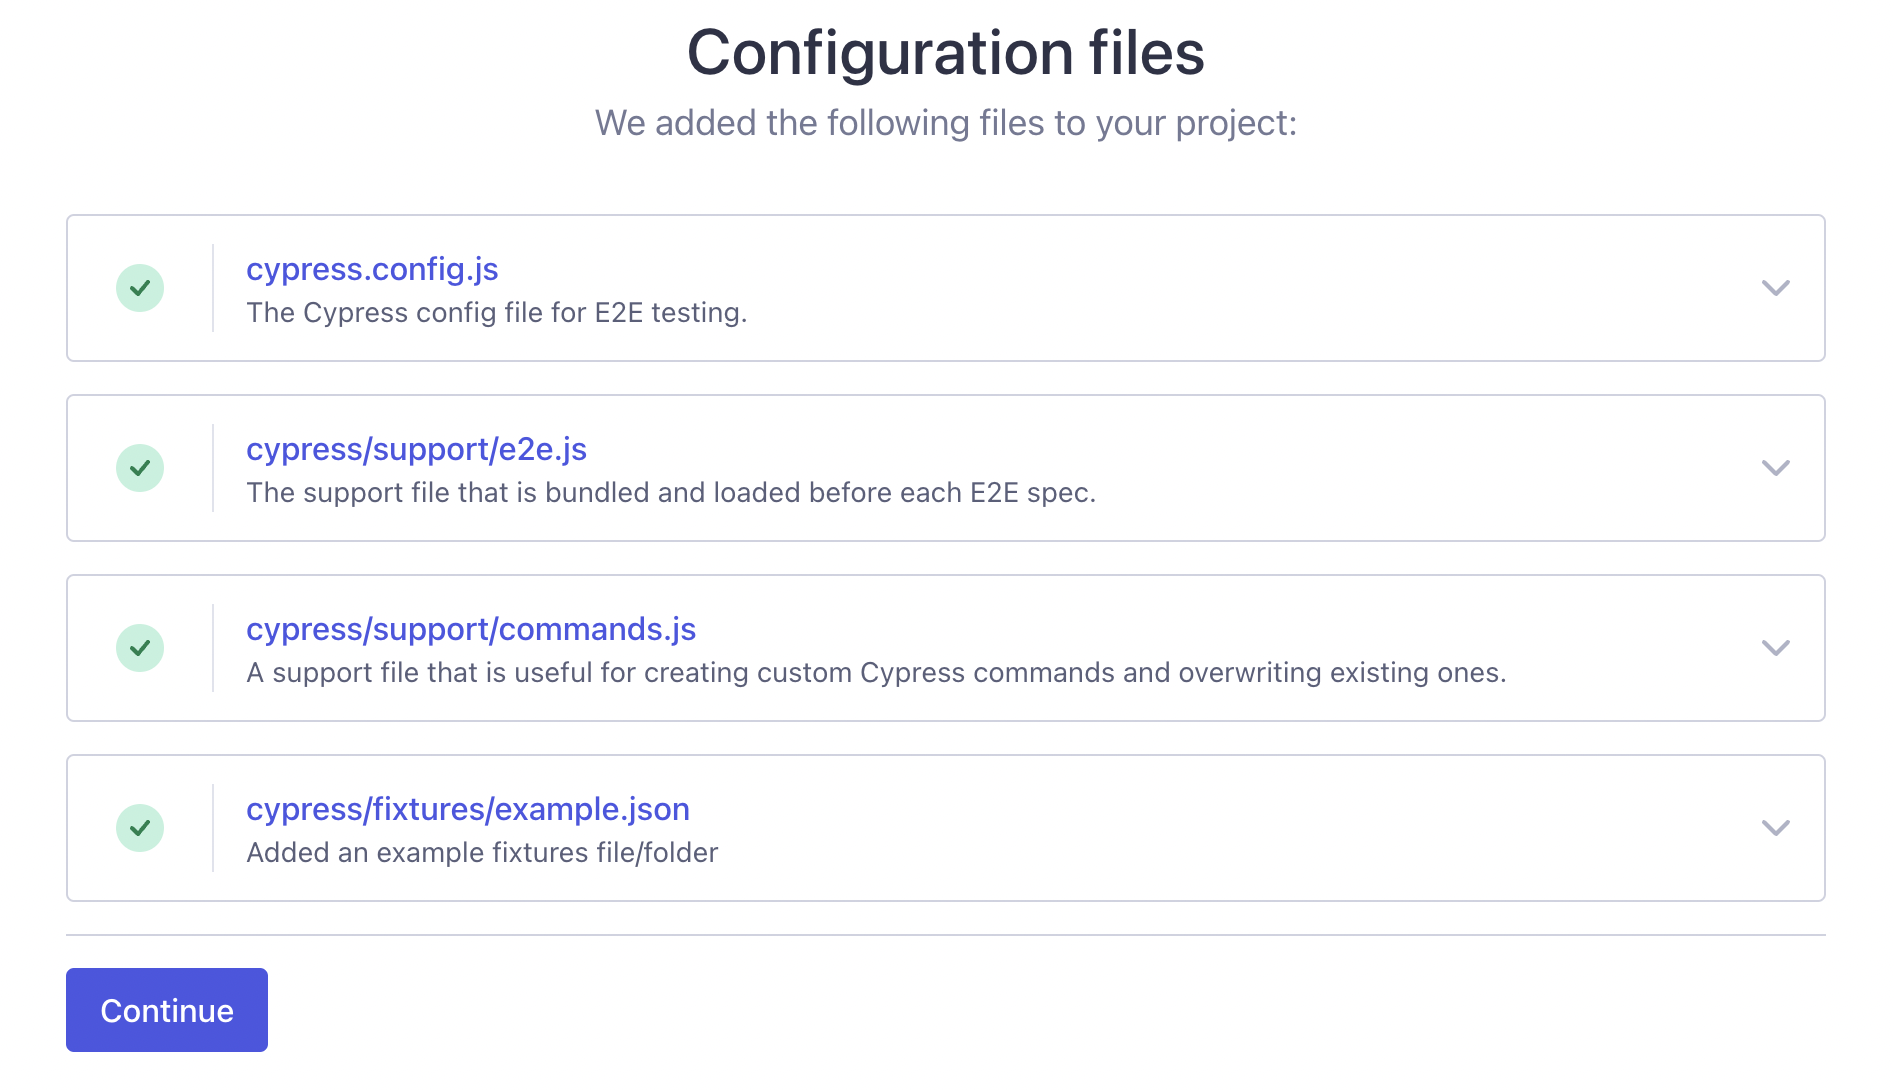
Cypress จะให้เลือกว่าจะทำการทดสอบแบบ E2E Testing หรือ Component Testing หลังจากนั้น Cypress จะสร้าง configuration file และไฟล์ต่างๆใน list นี้ให้เรา
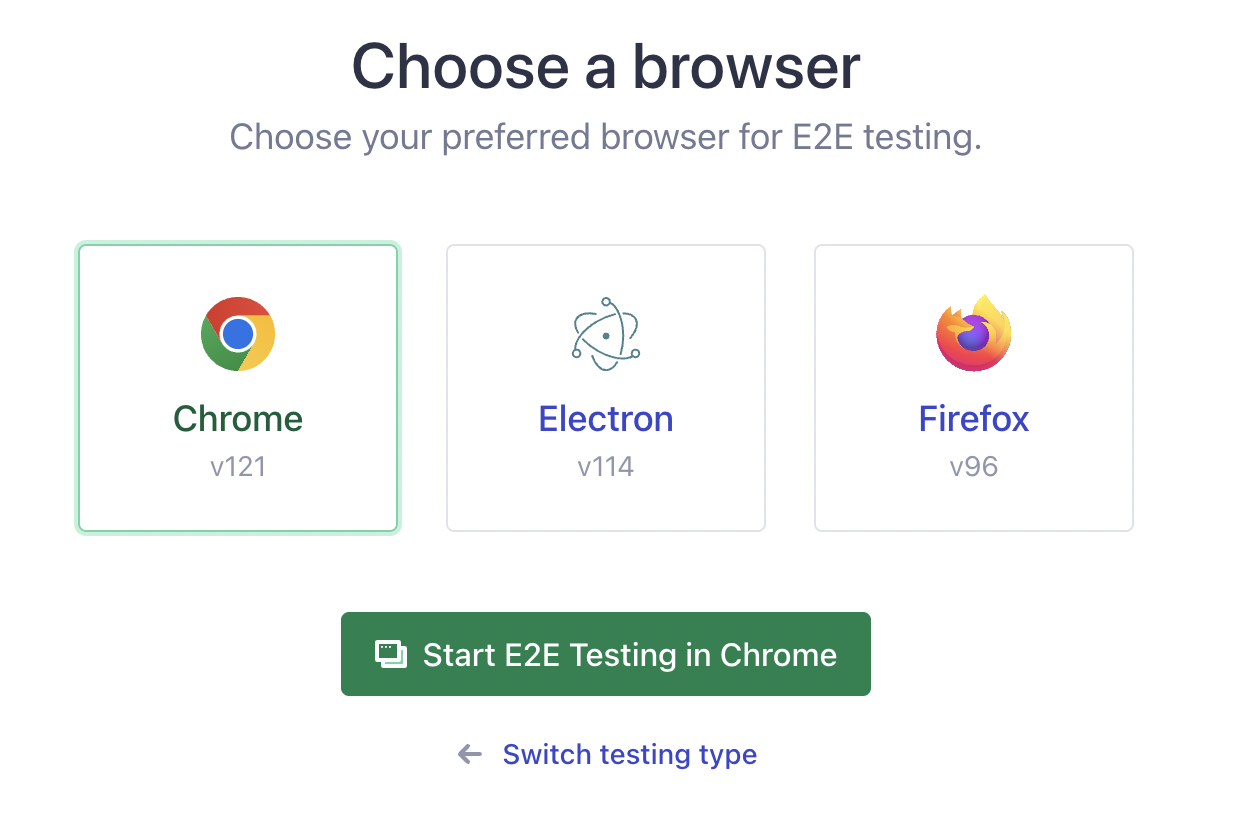
ขั้นตอนนต่อไป Cypress จะให้เราเลือก browser ที่ต้องการ automated
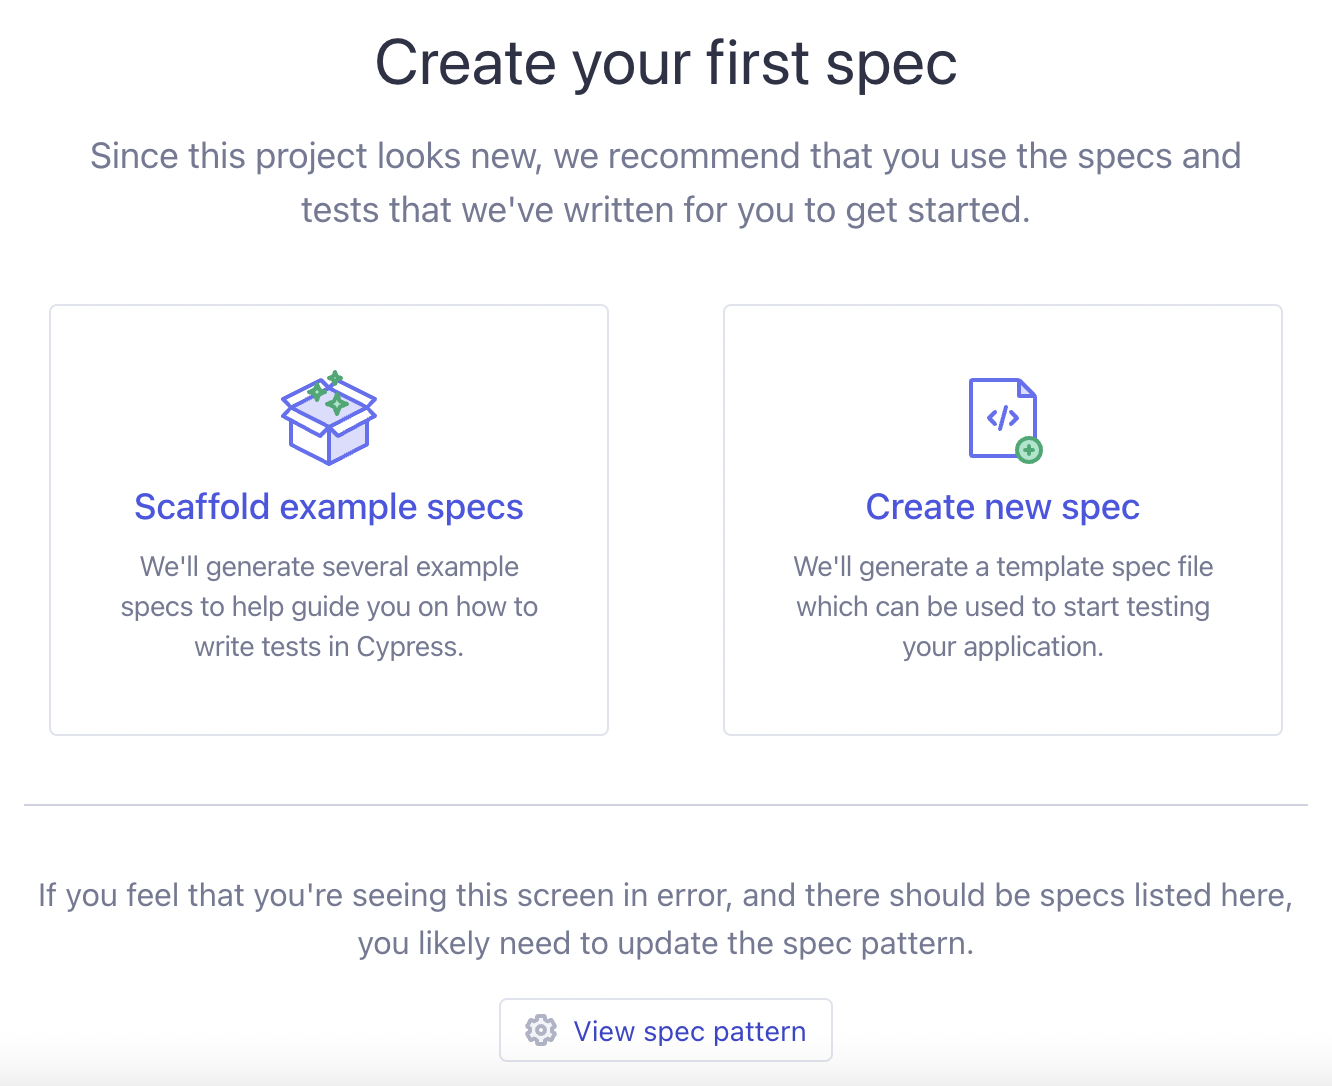
จากนั้นจะเข้าสู่หน้าแรกของการเขียน Test script โดย Cypress จะให้เราเลือกว่า
- ตัวอย่าง Spec file ที่ Cypress เตรียมไว้ให้
- เริ่มต้นเขียน Test script เอง
หลังจากเลือก ตัวอย่าง spec file ของ Cypress จะให้เราตอบตกลงก่อนสร้างไฟล์ตัวอย่าง
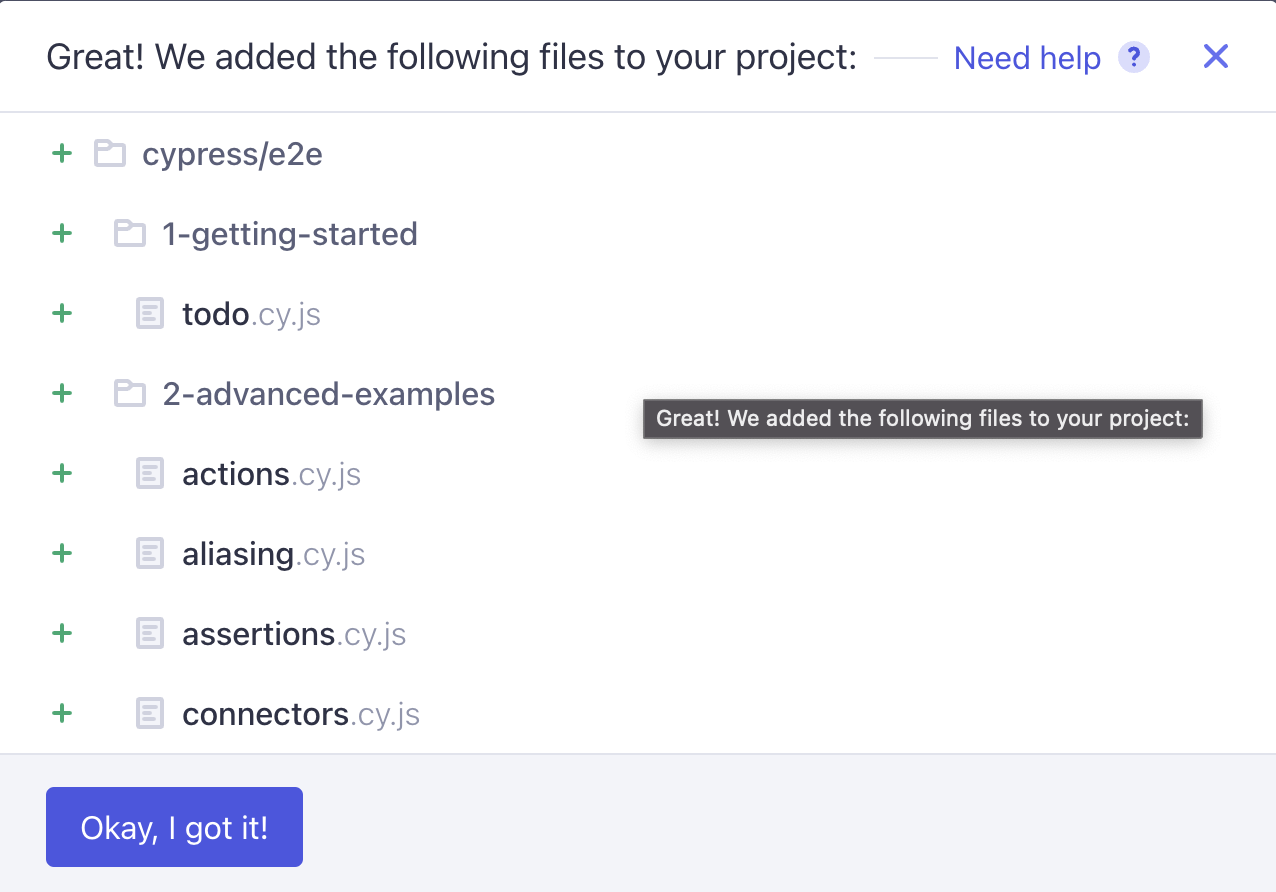
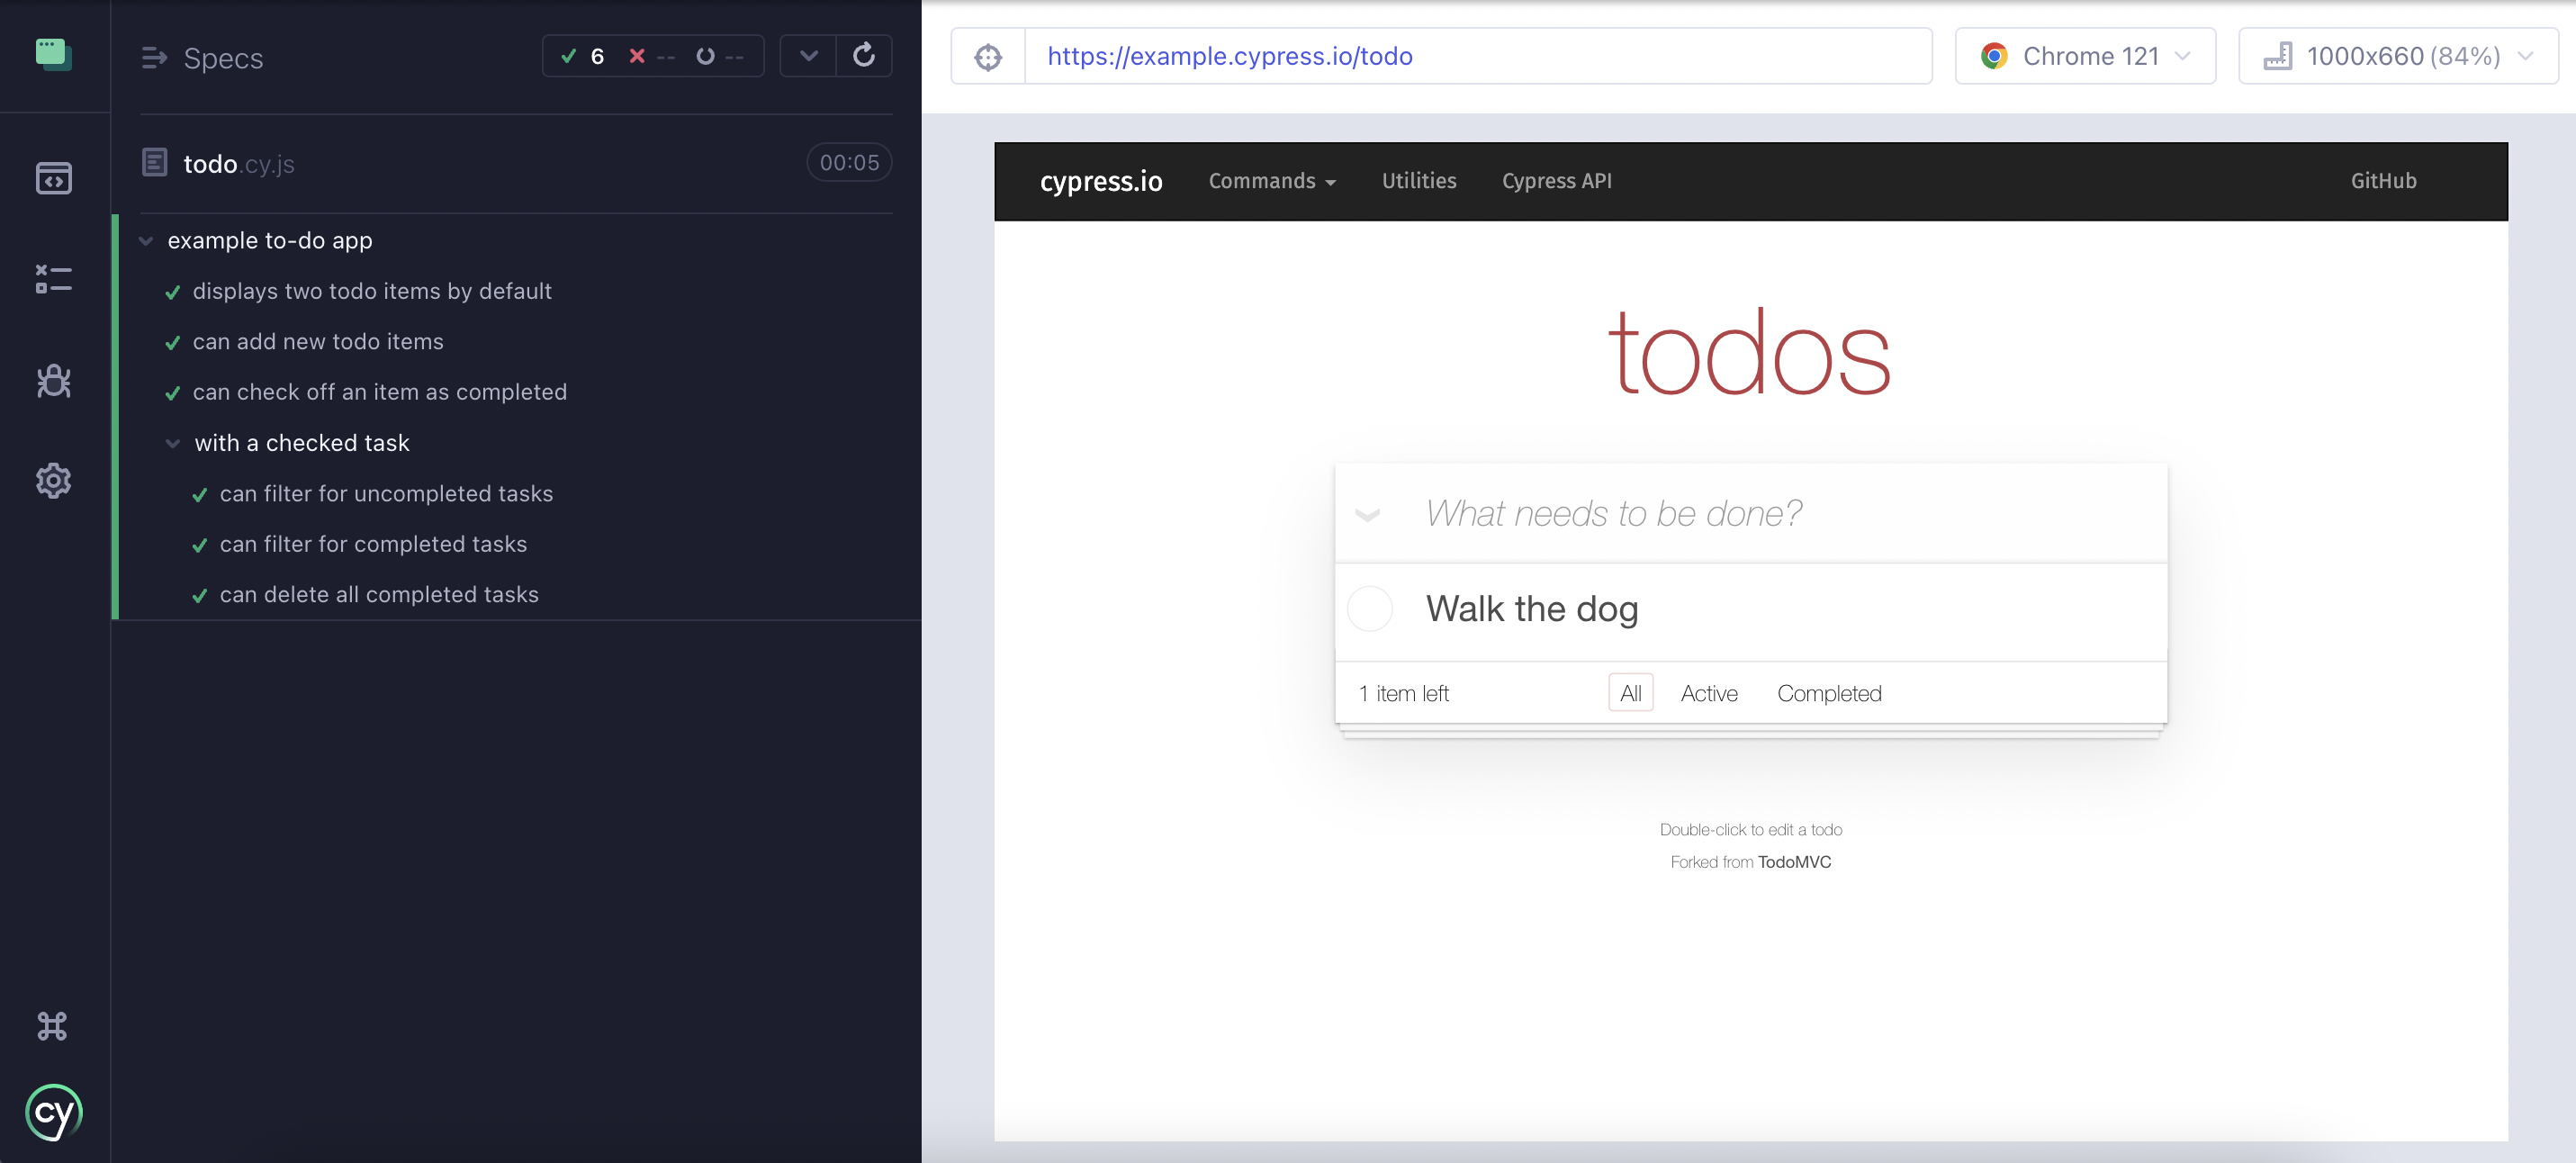
หลังจากกด Ok ก็จะเข้าสู่หน้าหลักของ Cypress
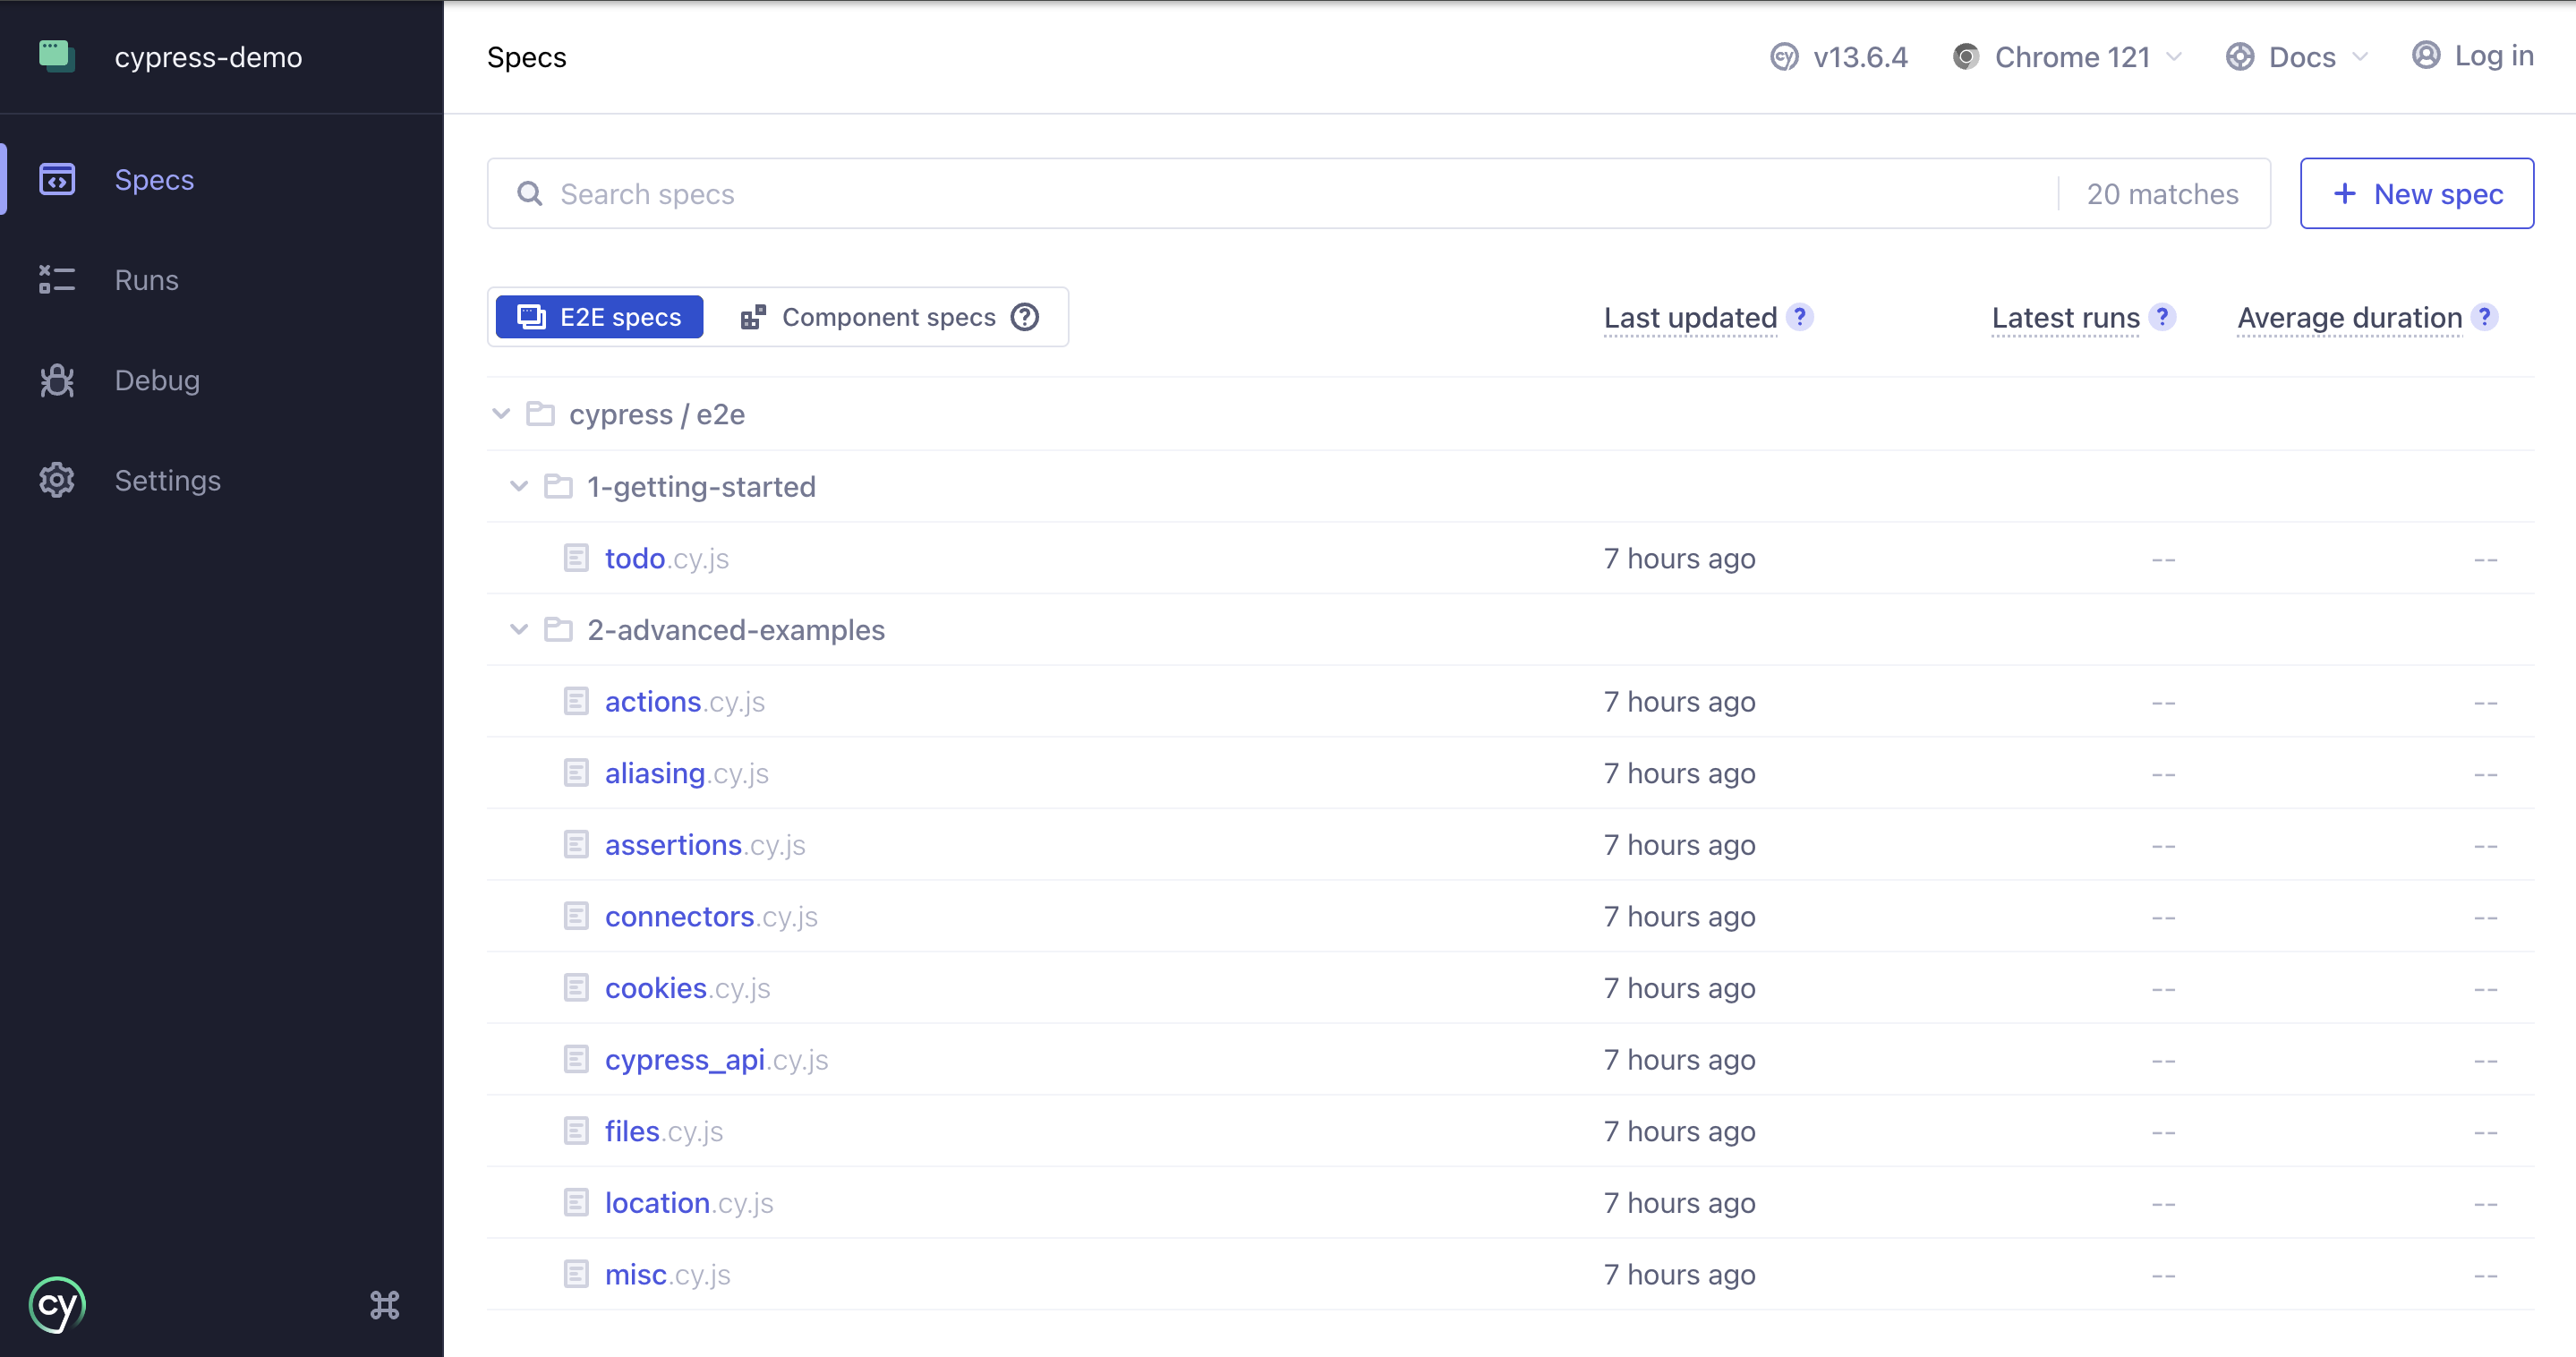
เมื่อเราคลิกที่ชื่อไฟล์ Cypress จะ run Test script นั้นทันที
ประเภทของการทดสอบด้วย Cypress
Cypress สามารถทดสอบได้หลายแบบ ซึ่งเราจะแยกเป็นวิธีการทดสอบต่างๆ ดังนี้
1. End-To-End Testing
End-To-End Testing หรือ E2E testing เป็นการทดสอบ Flow การทำงานตั้งแต่ต้นจนจบ ซึ่งเราสามารถใช้ Cypress เขียนวิธีการทดสอบได้แบบนี้
it('adds todos', () => {
  cy.visit('https://example.cypress.io/')
  cy.get('[data-testid="new-todo"]')
    .type('write code{enter}')
    .type('write tests{enter}')
  // confirm the application is showing two items
  cy.get('[data-testid="todos"]').should('have.length', 2)
})
ตัวอย่างนี้เป็นการ add ข้อมูลเข้าไปใน Todo List ซึ่งจะใส่ข้อมูลเข้าไป 2 รายการคือคำว่า code และ tests หลังจากนั้นจะทำการ assert ว่าผลลัพธ์ที่แสดงใน Todo Lists นั้นเท่ากับ 2 รึเปล่า
2. Component Testing
ในการพํฒนา Single Page Application ด้วย Angular, React หรือ Vue เราจะสร้างสิ่งที่เรียกว่า Component เพื่อนำไปเป็นส่วนหนึ่งของหน้าจอ
เราสามารถนำ Cypress ไปทดสอบ Component ที่ได้โดยการ import component เข้ามาแบบนี้
import TodoList from './components/TodoList'

it('contains the correct number of todos', () => {
  const todos = [
    { text: 'Buy milk', id: 1 },
    { text: 'Learn Component Testing', id: 2 },
  ]

  cy.mount(<TodoList todos={todos} />)
  // the component starts running like a mini web app
  cy.get('[data-testid="todos"]').should('have.length', todos.length)
})
การทดสอบ Component แต่ละชิ้นแบบนี้จะทำให้เรามั่นใจได้ว่า Component ที่นำมาสร้างเป็น Application สามารถทำงานได้อย่างราบรื่น
3. API Testing
เราไม่สามารถหวังพึ่งการทดสอบ UI อย่างเดียวไม่ได้ เพราะเราจะถูกหน้าจอกำกับวิธีการทำงาน แต่จริงๆแล้วเราสามารถเข้าถึง API ได้โดยตรงแล้วสามารถปรับเปลี่ยนค่าได้ตามอิสระ ดังนั้นถ้าอยากได้ Software ที่มีคุณภาพเราต้องทดสอบทั้ง UI และ API ทั้งคู่
นี่ก็จะเป็นอีกจุดเด่นของ Cypress เพราะเราสามารถใช้เครื่องมือตัวเดียวทดสอบได้ทั้ง UI และ API ด้วยเครื่องมือเดียวกัน ตัวอย่างของการทำ API Testing จะเป็นแบบนี้
it('adds a todo', () => {
  cy.request({
    url: '/todos',
    method: 'POST',
    body: {
      title: 'API Testing with Cypress',
    },
  })
    .its('body')
    .should('deep.contain', {
      title: 'API Testing with Cypress',
      completed: false,
    })
})
ในตัวอย่างนี้ Cypress จะส่ง request ไปยัง method POST ที่ url /todos ซึ่งเมื่อ API ตอบ response กลับมาให้เราตรวจสอบว่ามี title เป็นคำว่า API Testing with Cypress รึเปล่า
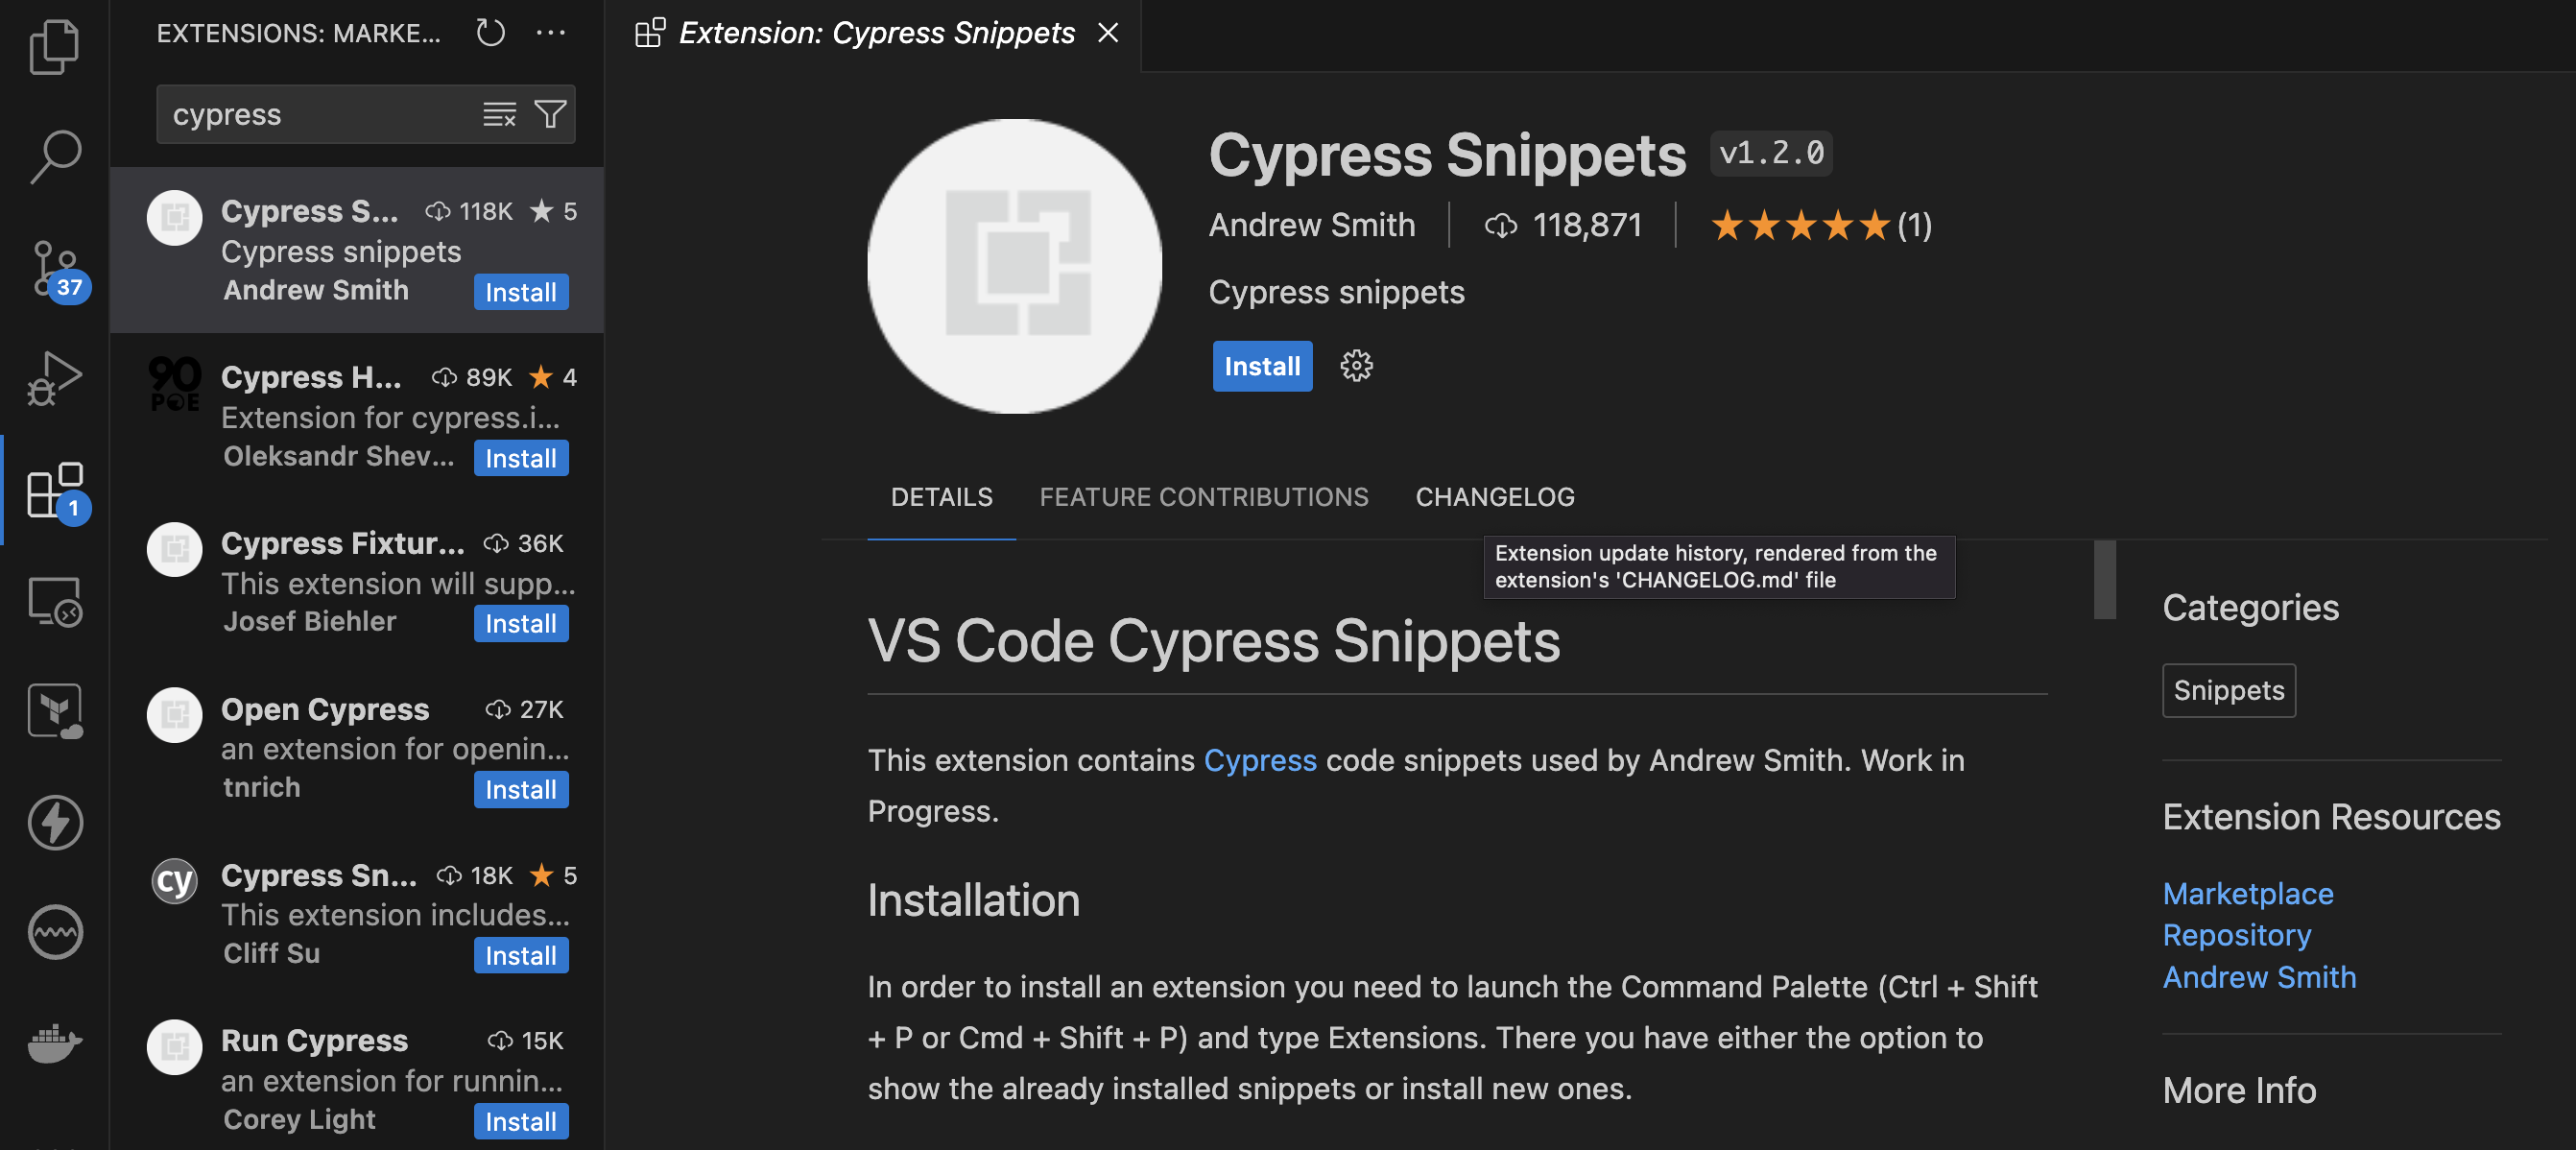
Plugins สำหรับ VS Code
สำหรับผู้ที่ใช้งาน VS Code เราต้องติดตั้ง extensions ชื่อ Cypress Snippets เพื่อให้มี Inteelisense สำหรับการเขียน Cypress